


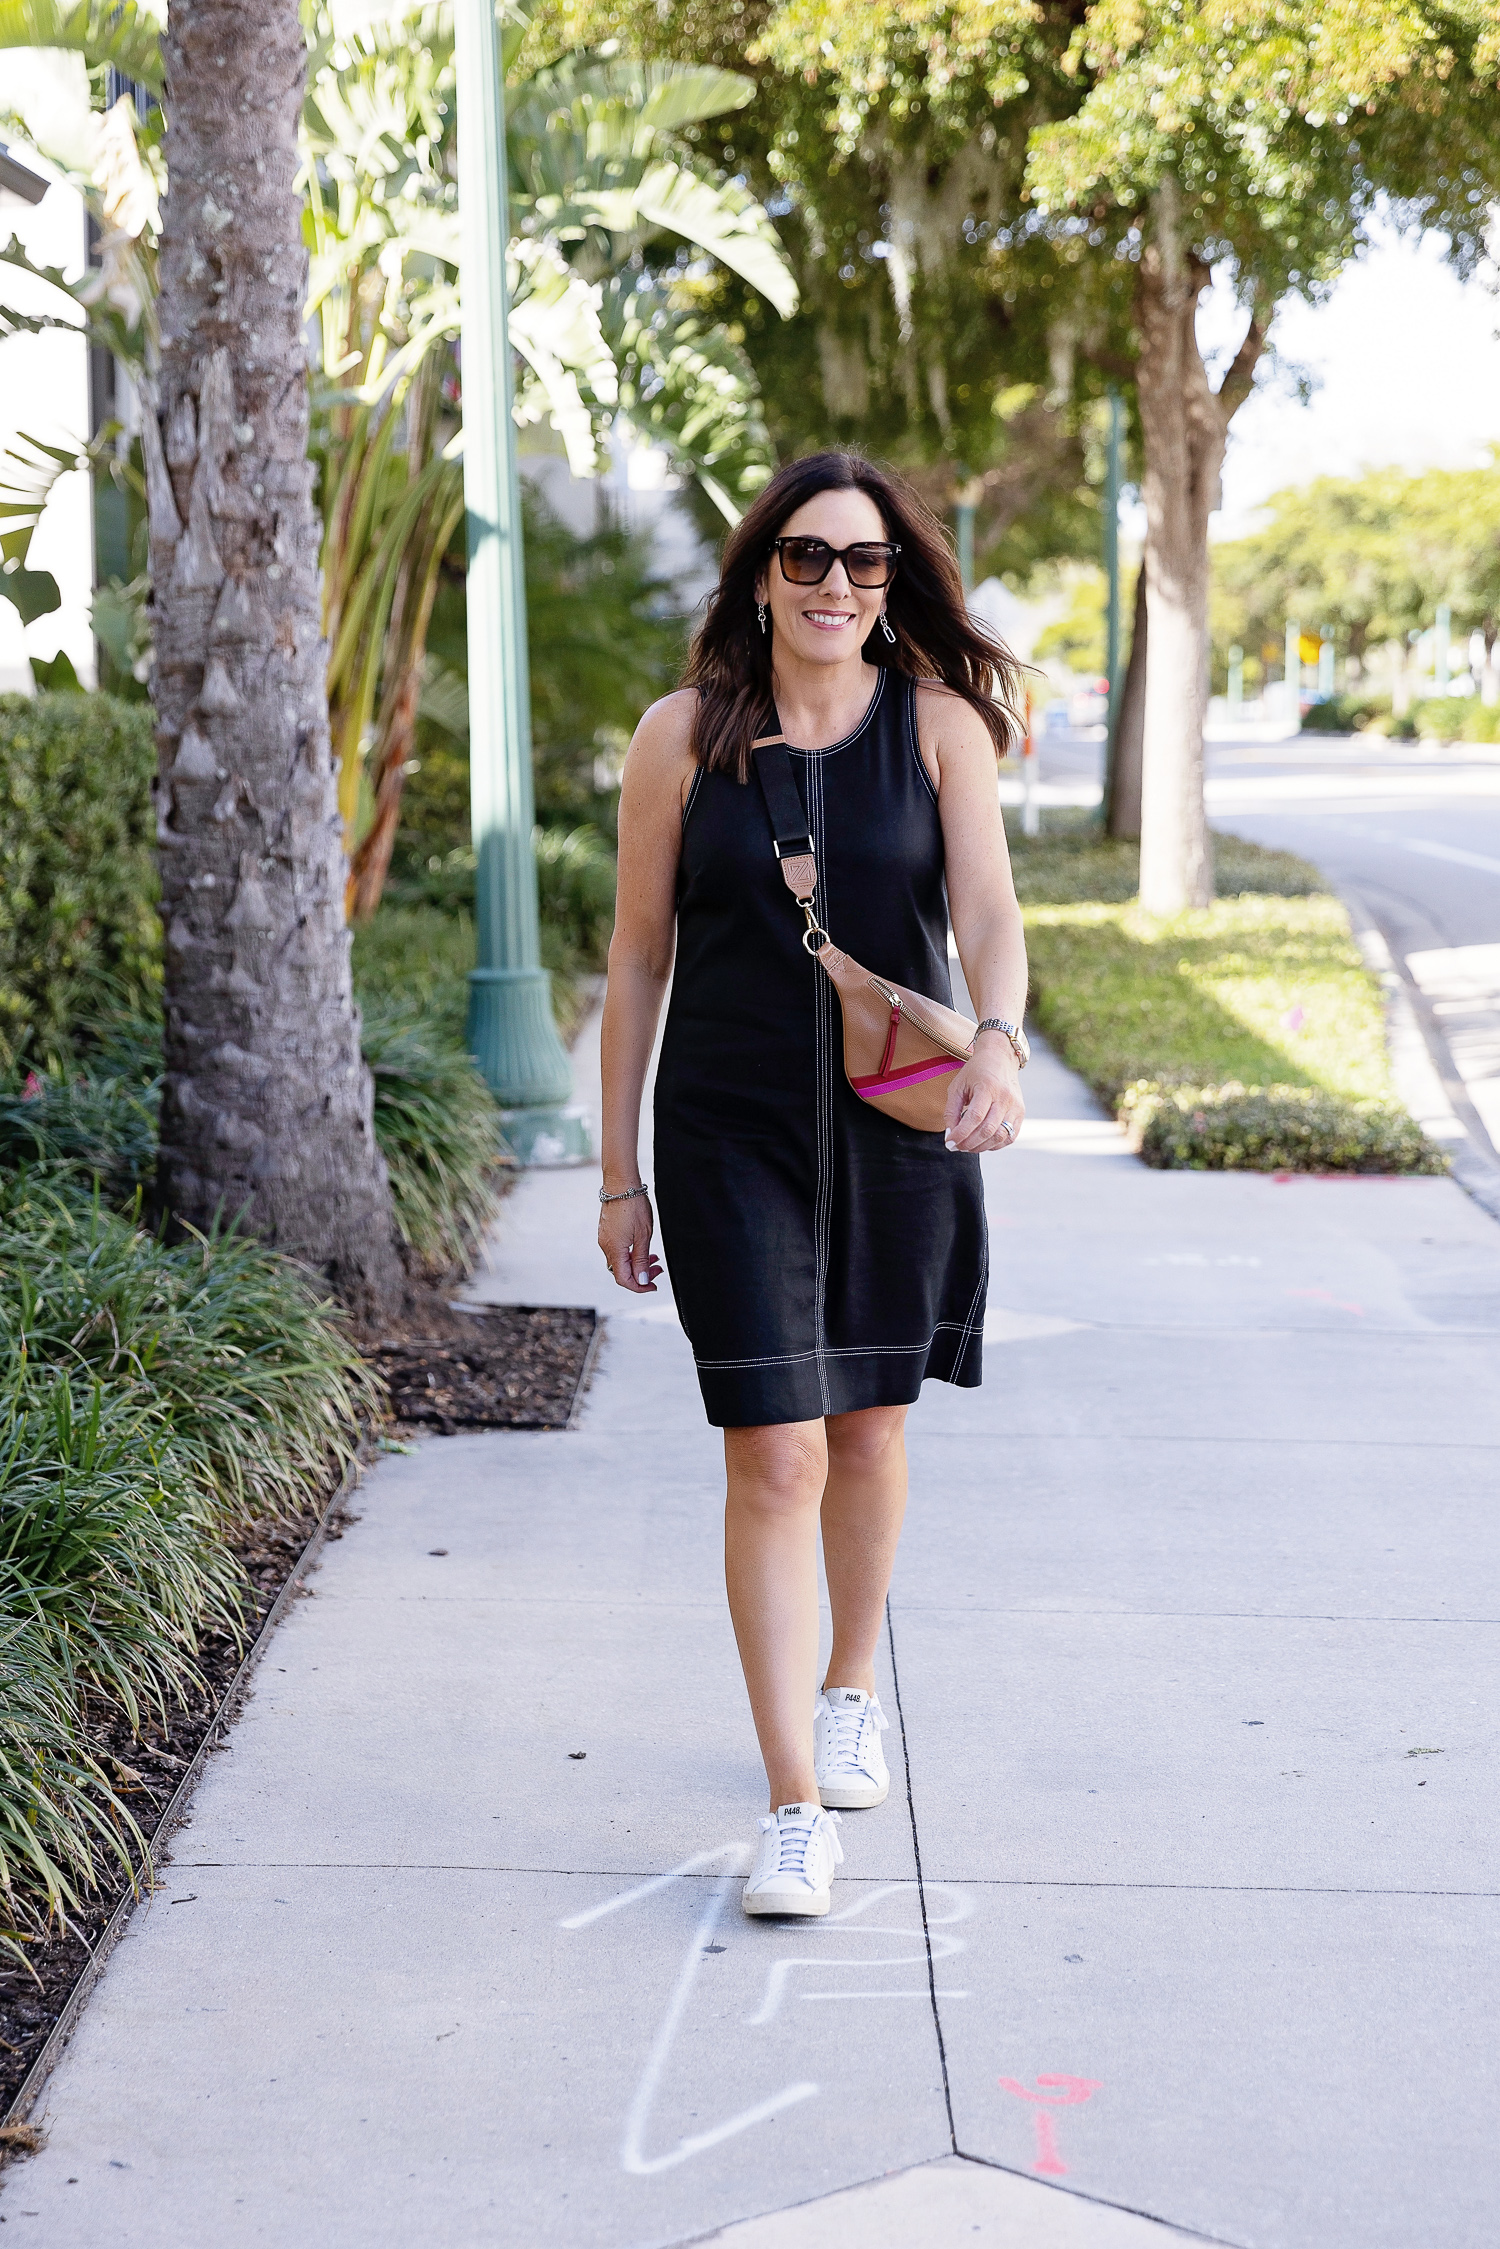
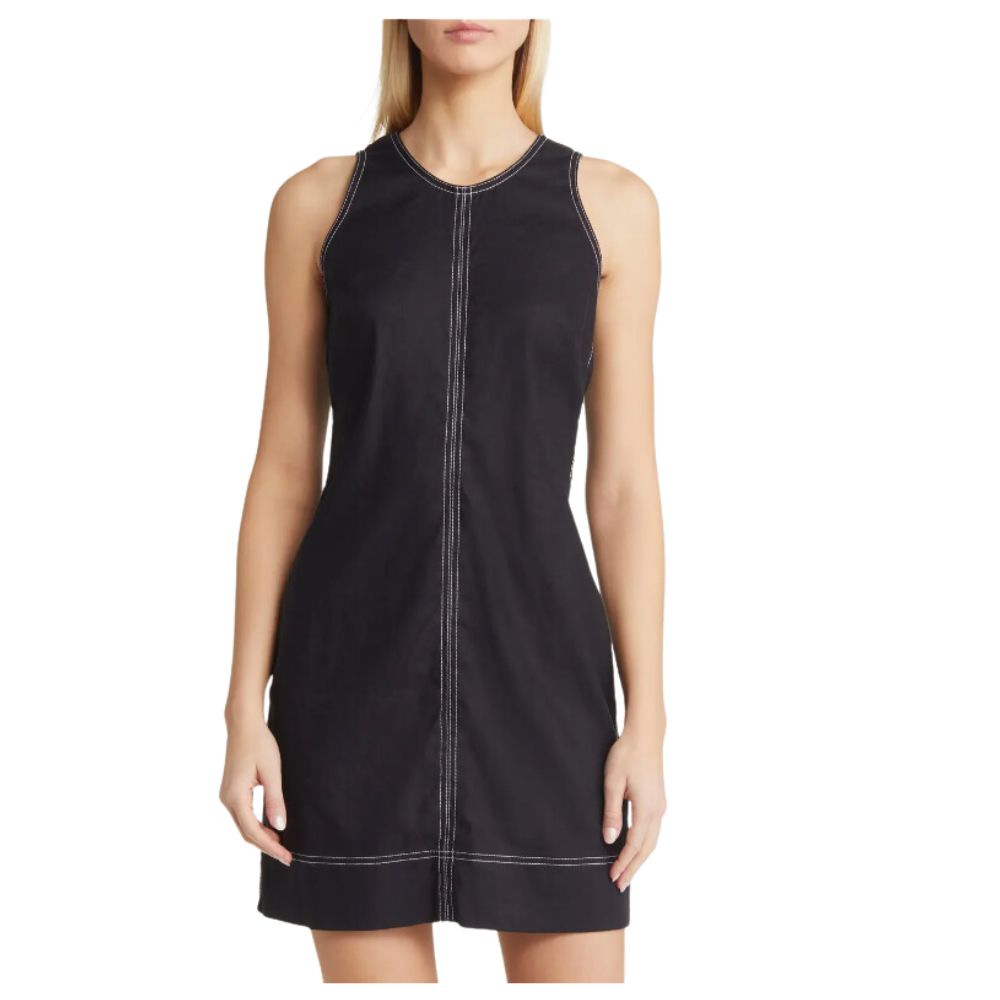


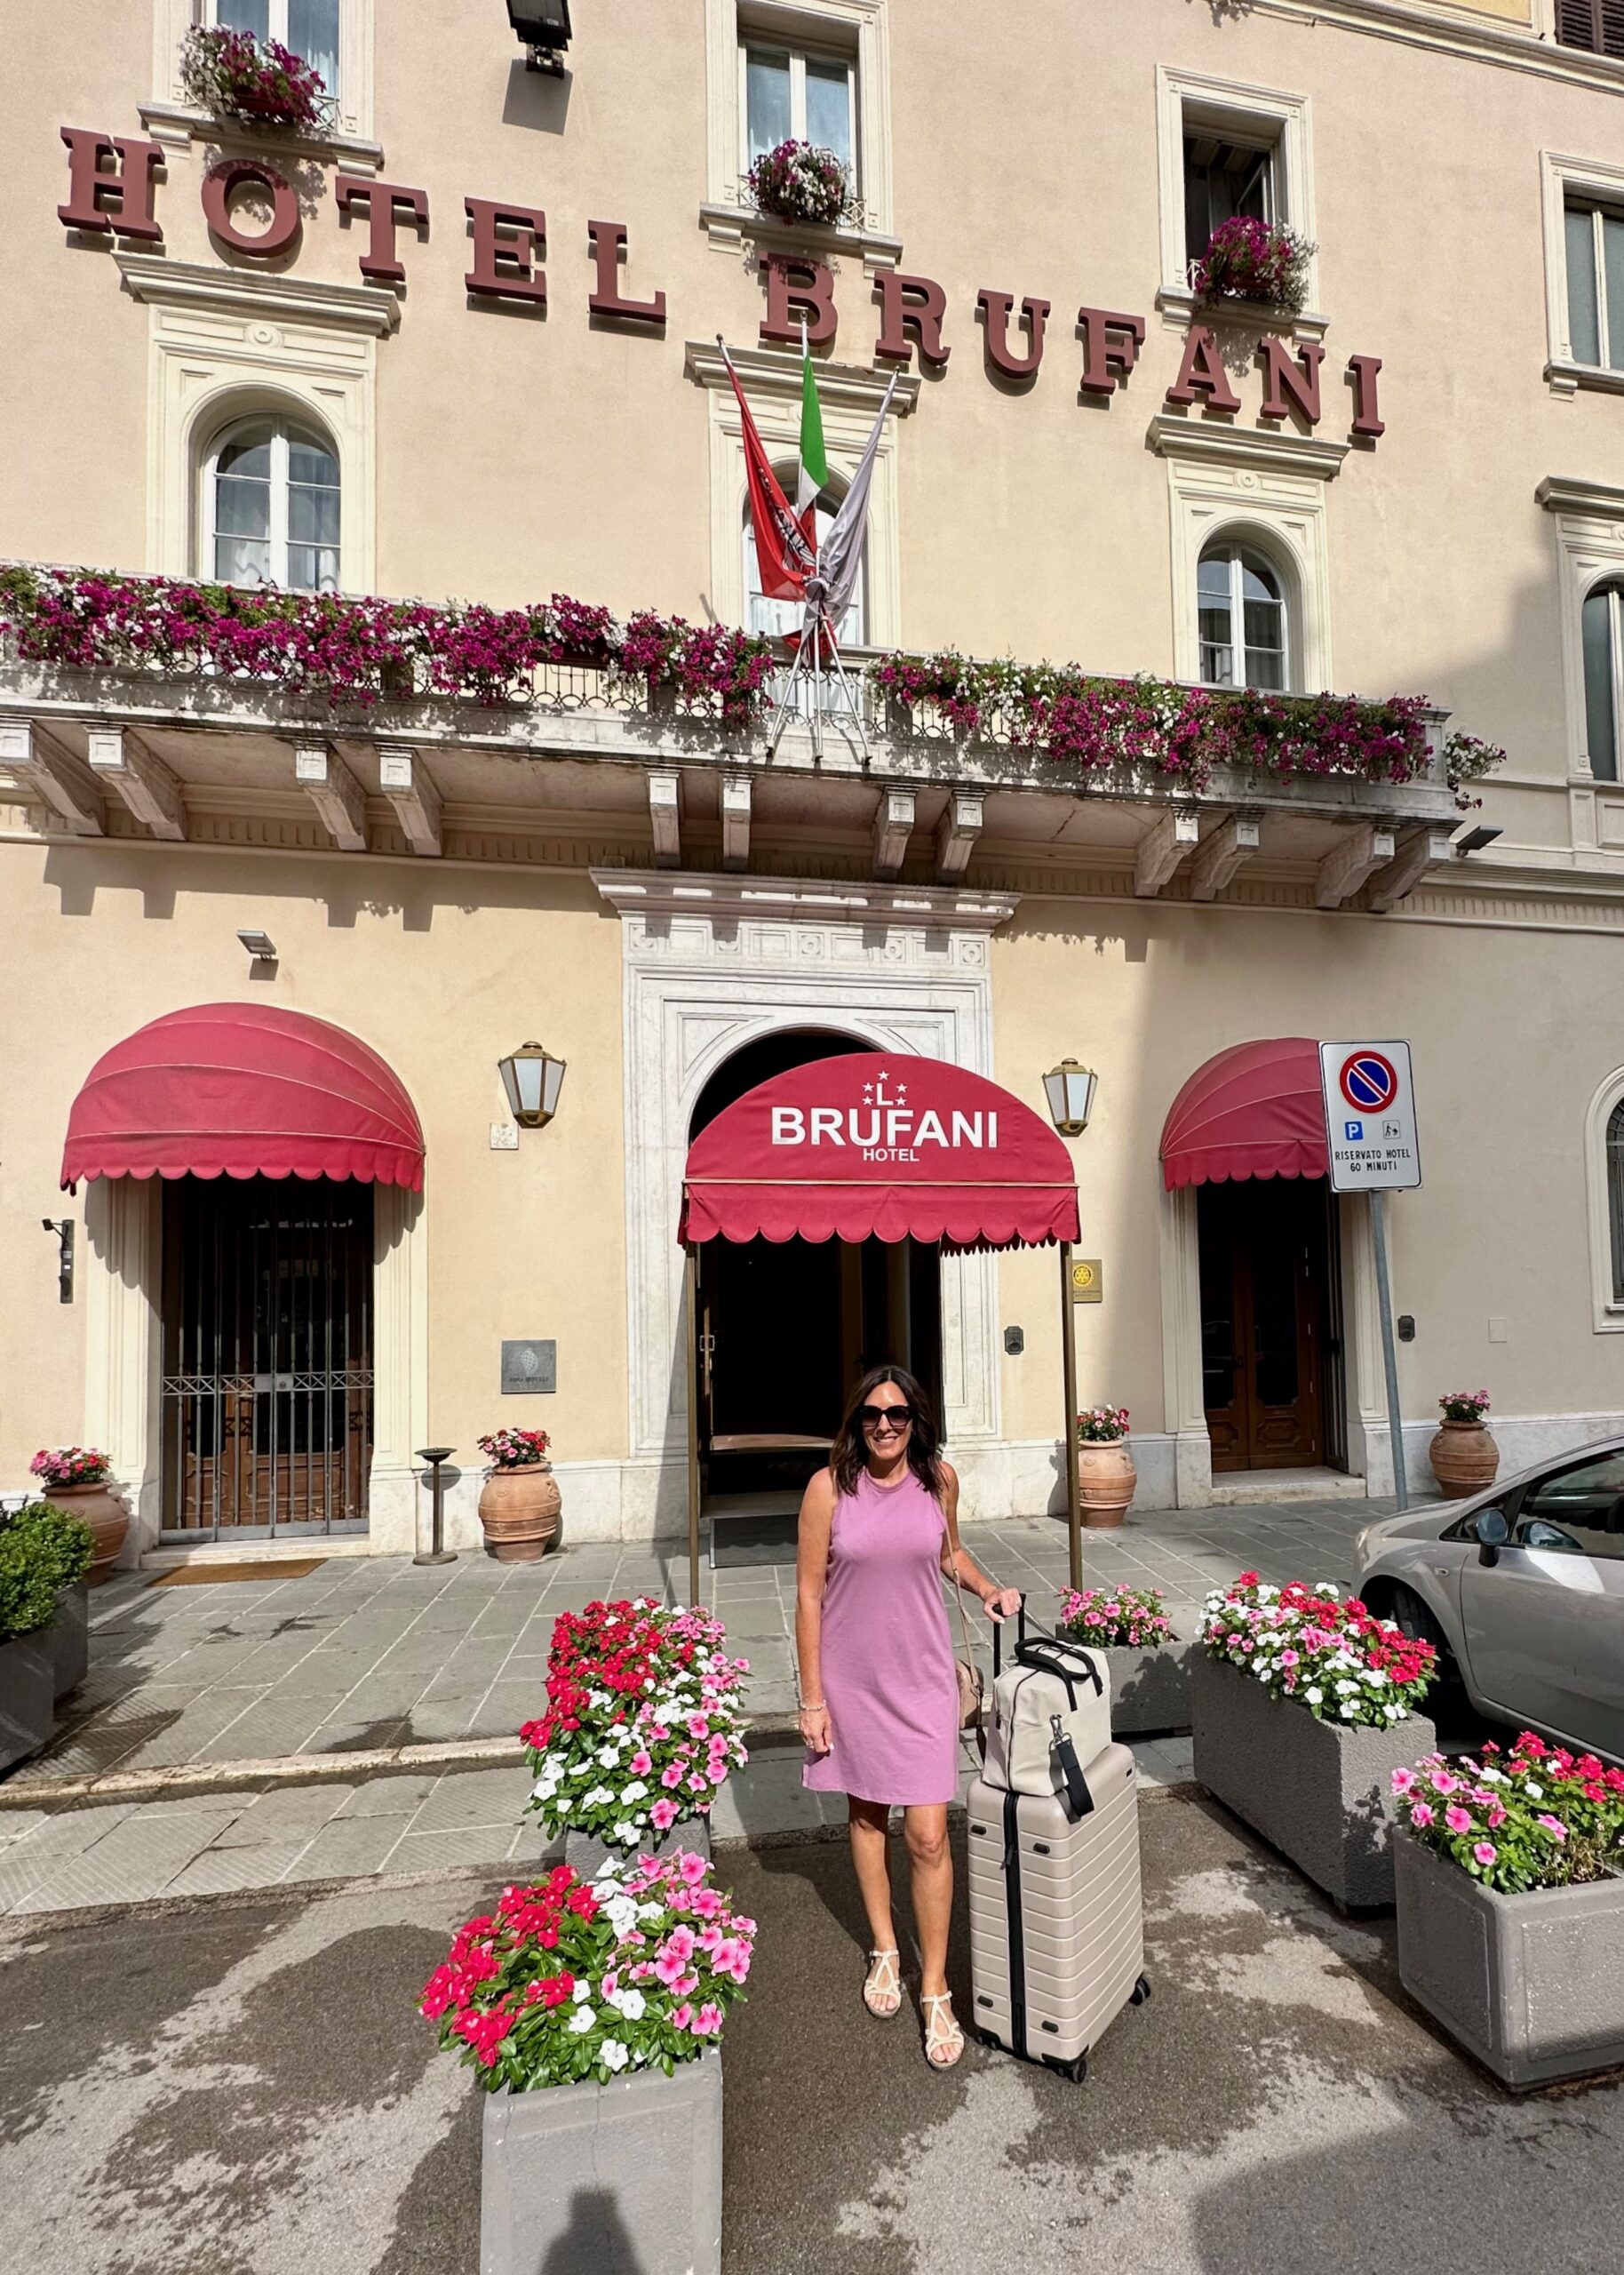


Love a casual dress for spring because it’s one and done. #justaddsandals 💙 This one is a nice french terry, super soft and comfy, and it runs true to size. All details linked in bio!

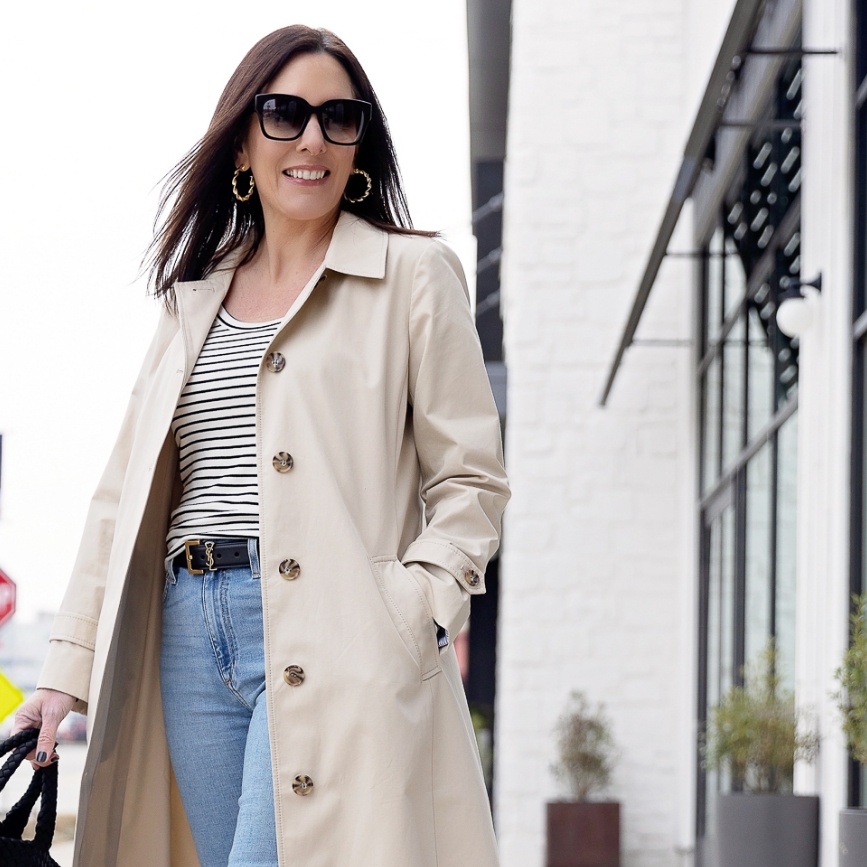
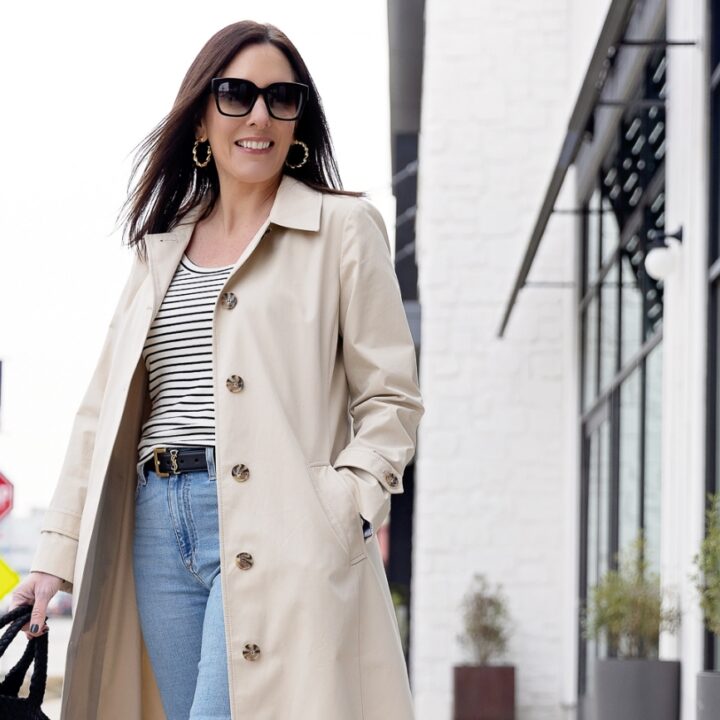
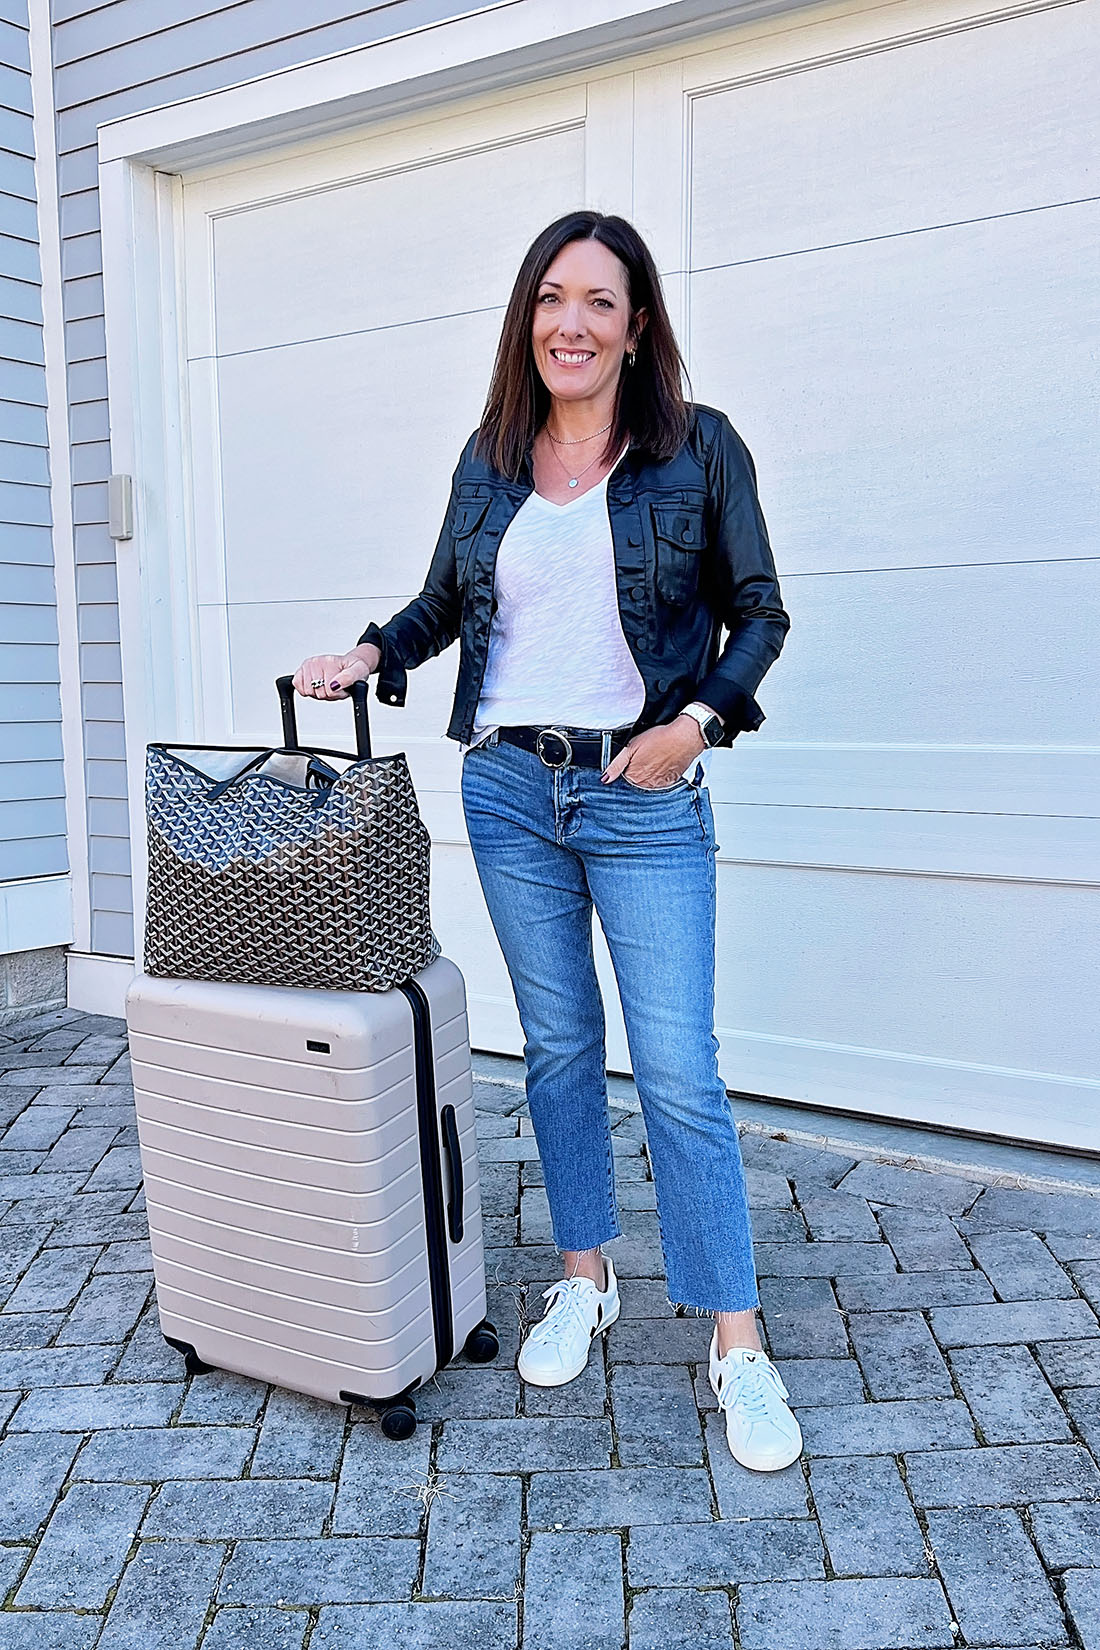
Back home after a gorgeous week in Florida for Spring Break, and still living in my @frankandeileen Carmel travel set. 🤍 It’s a splurge, for sure, but the quality is unmatched and the details are on point.
I also just discovered their Lauren polo dress! Love the fit and the casual-chic design. It’s definitely going to be on repeat this spring and summer.
Follow my shop @jolynneshane on the @shop.LTK app to shop this post OR get links in my story!
#liketkit
@shop.ltk
https://liketk.it/4CGn9
#FrankandEileenPartner #WearLoveRepeat
How long since you’ve updated your summer pajamas? My favorites are from @somaintimates and they’re having a sale today — save up to 40% off! Comment PAJAMAS for a DM with a link to all my favorites.
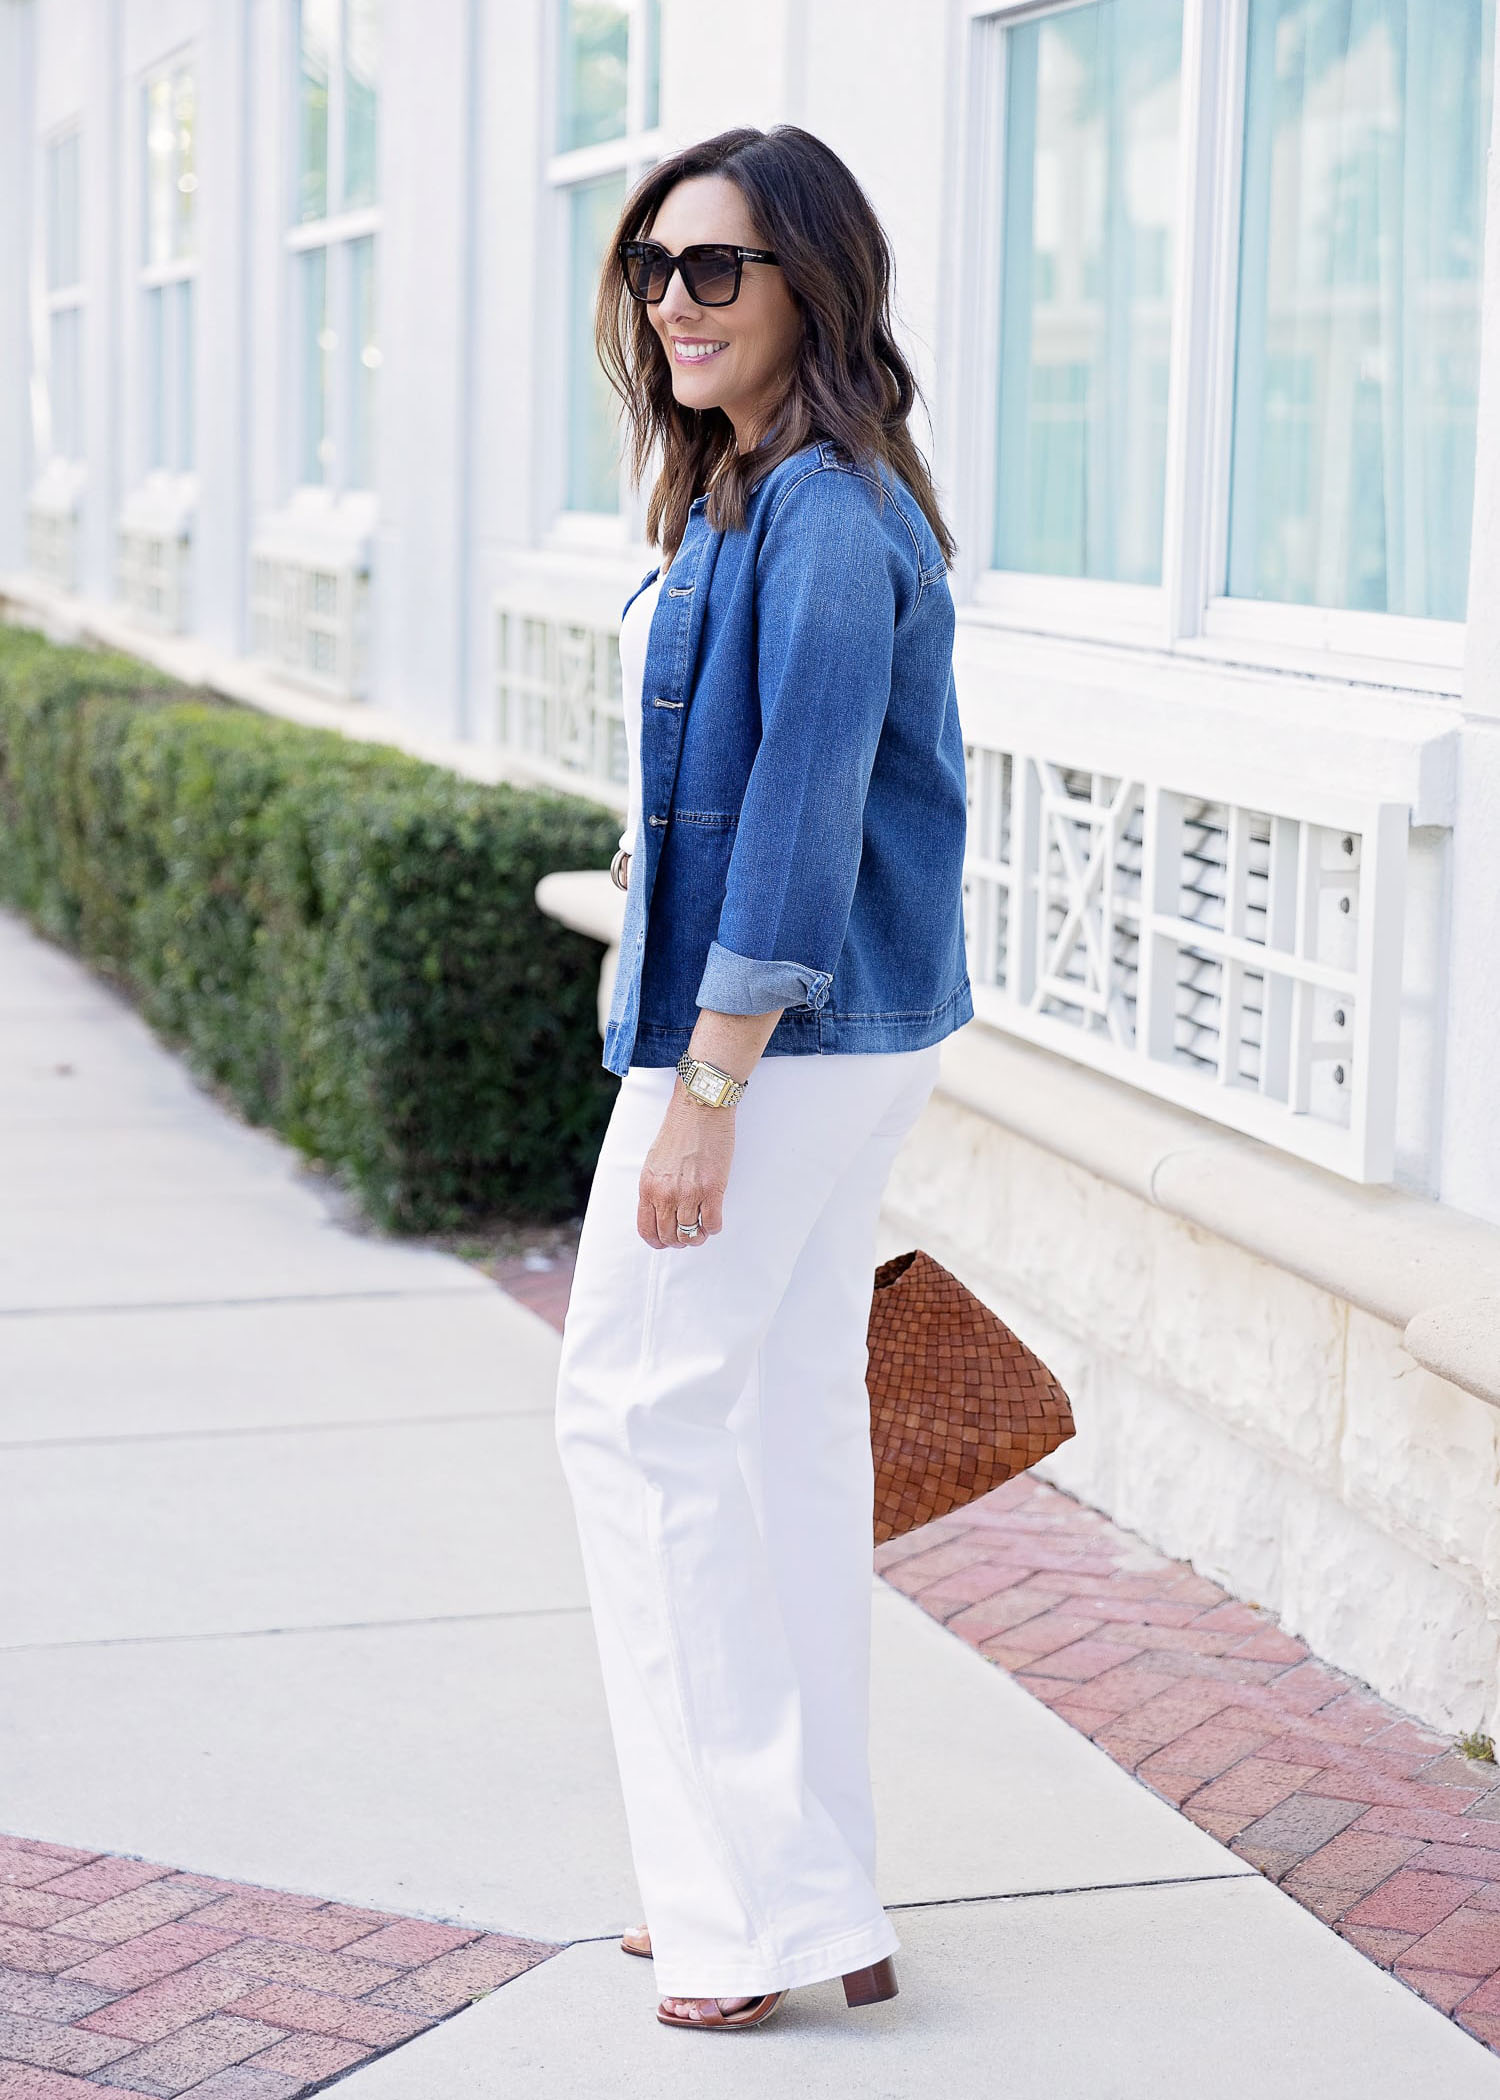
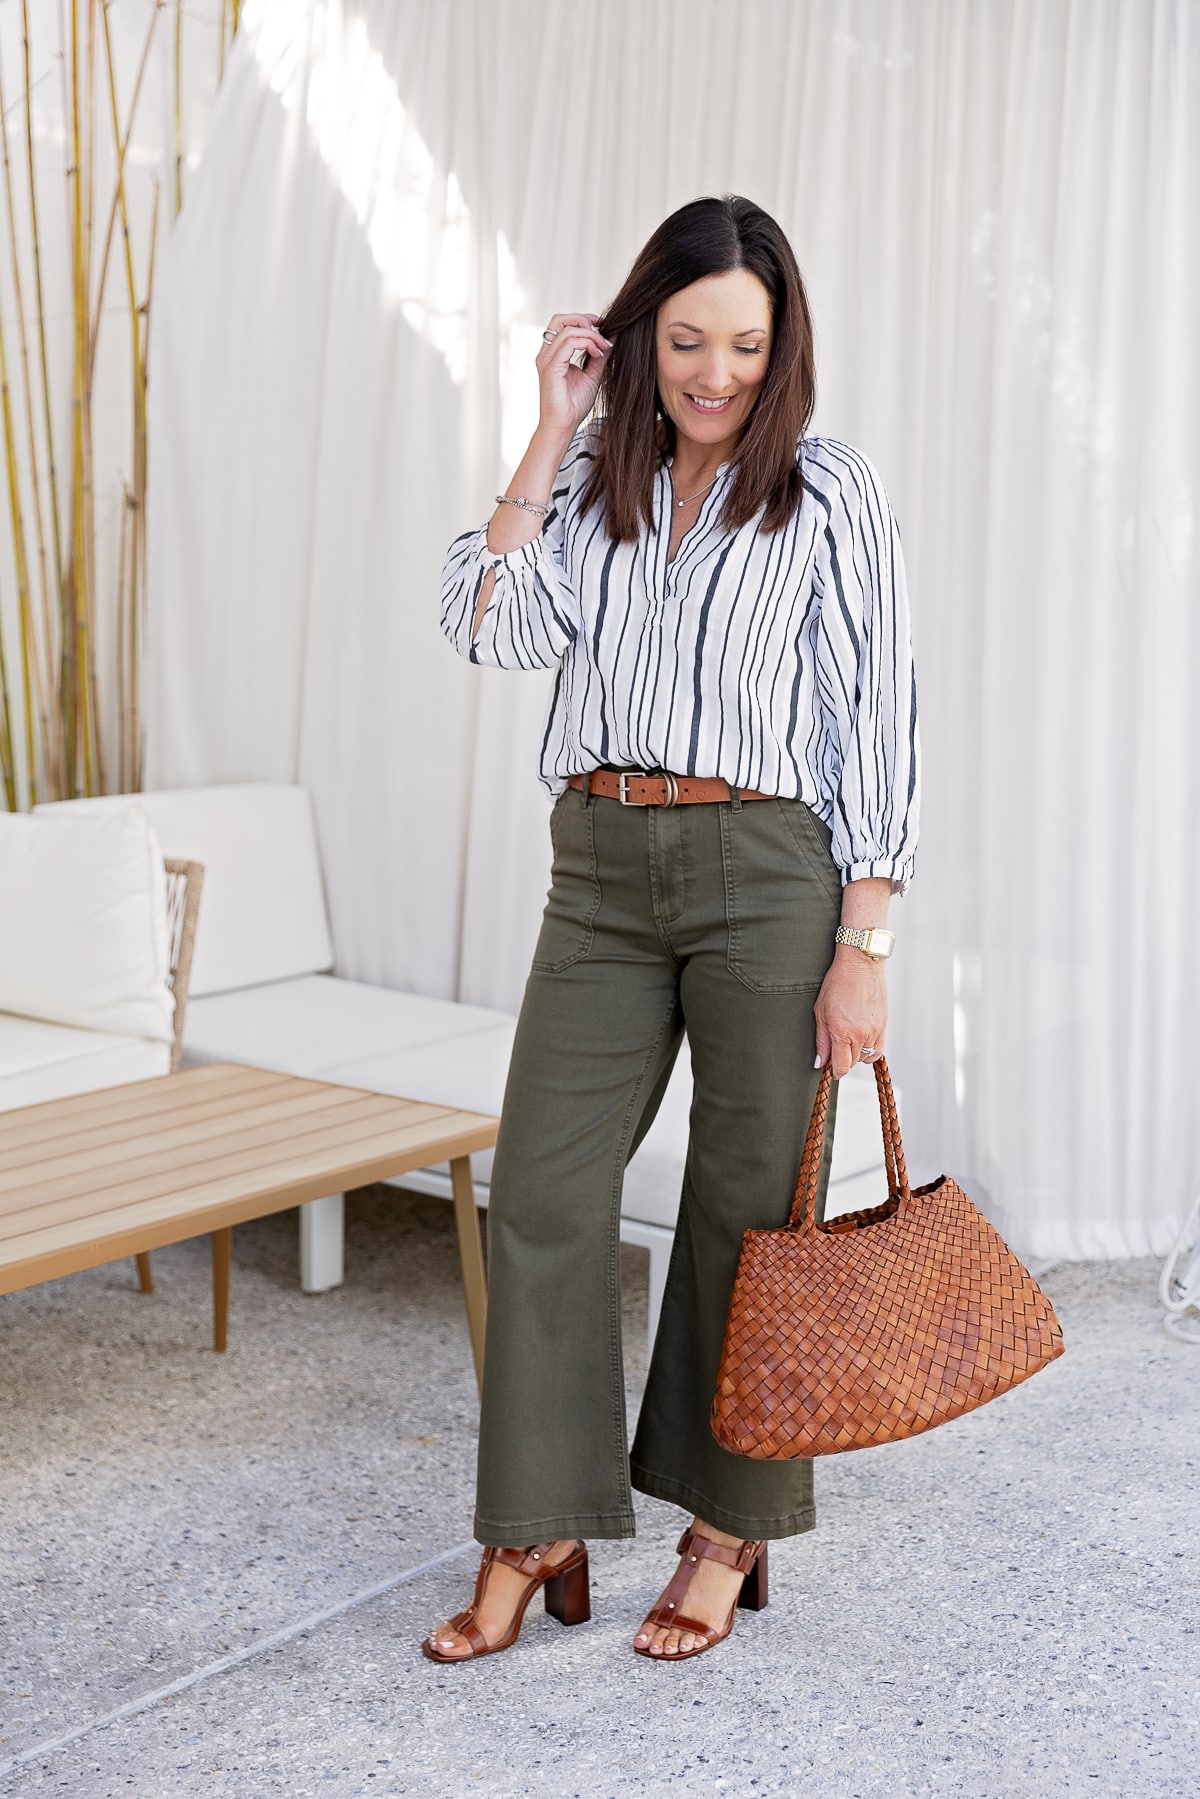
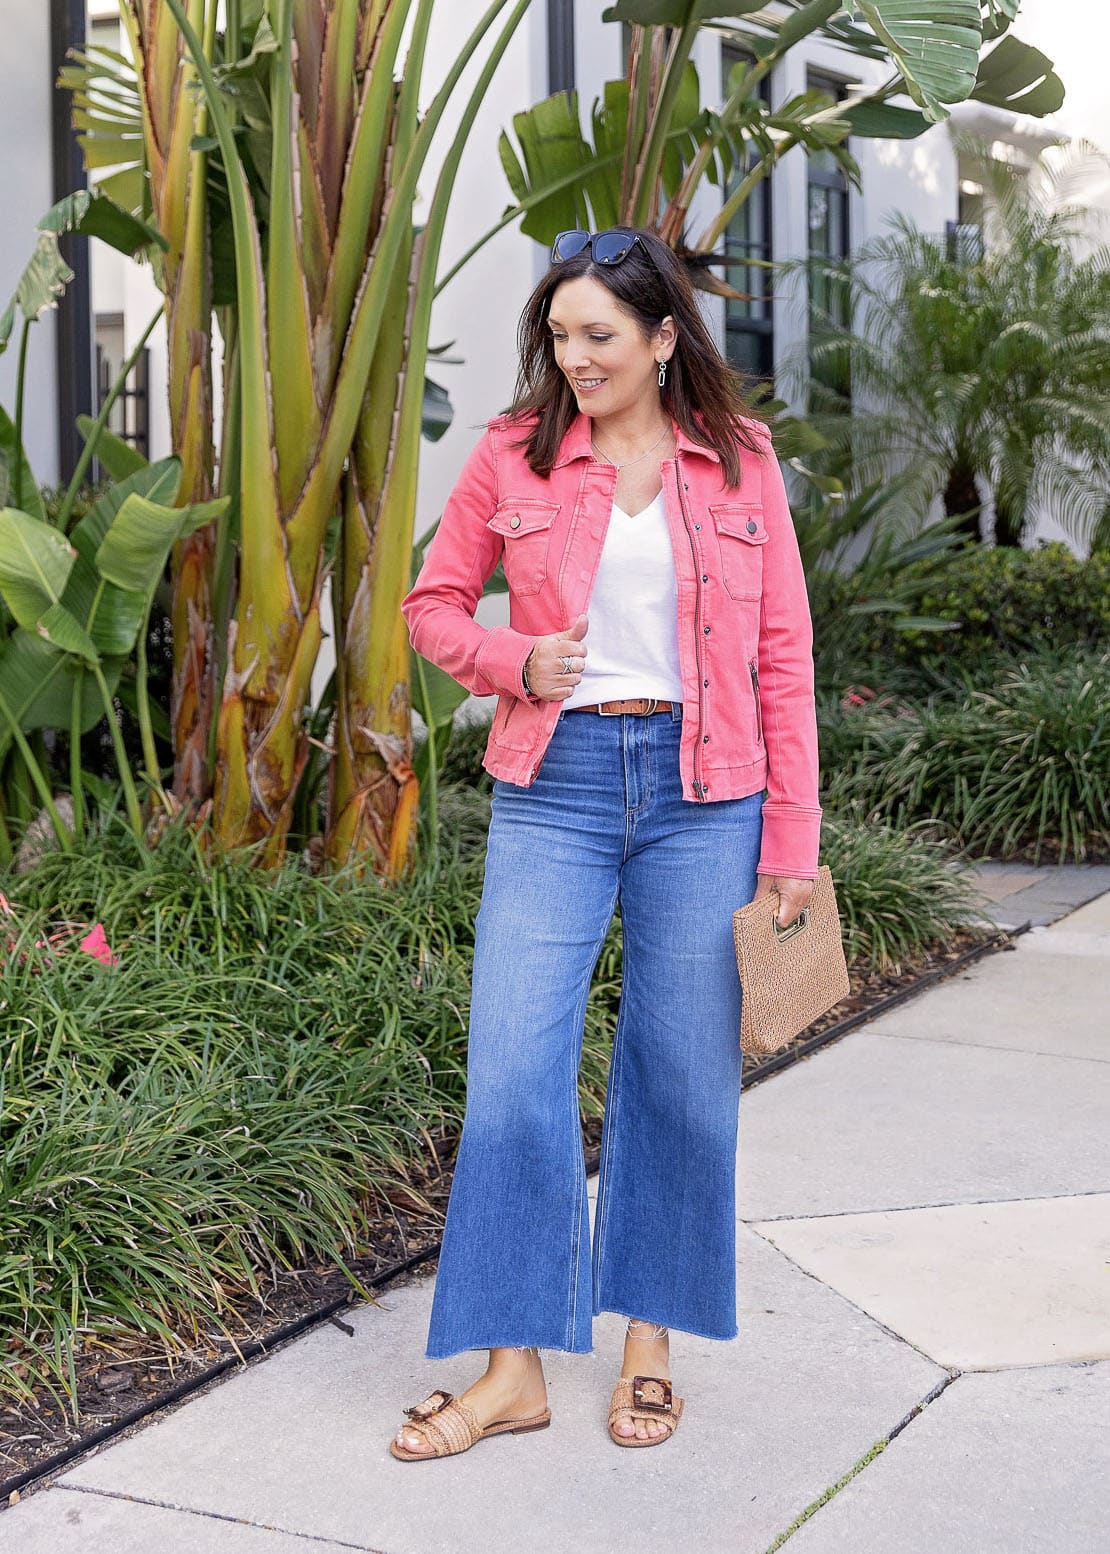
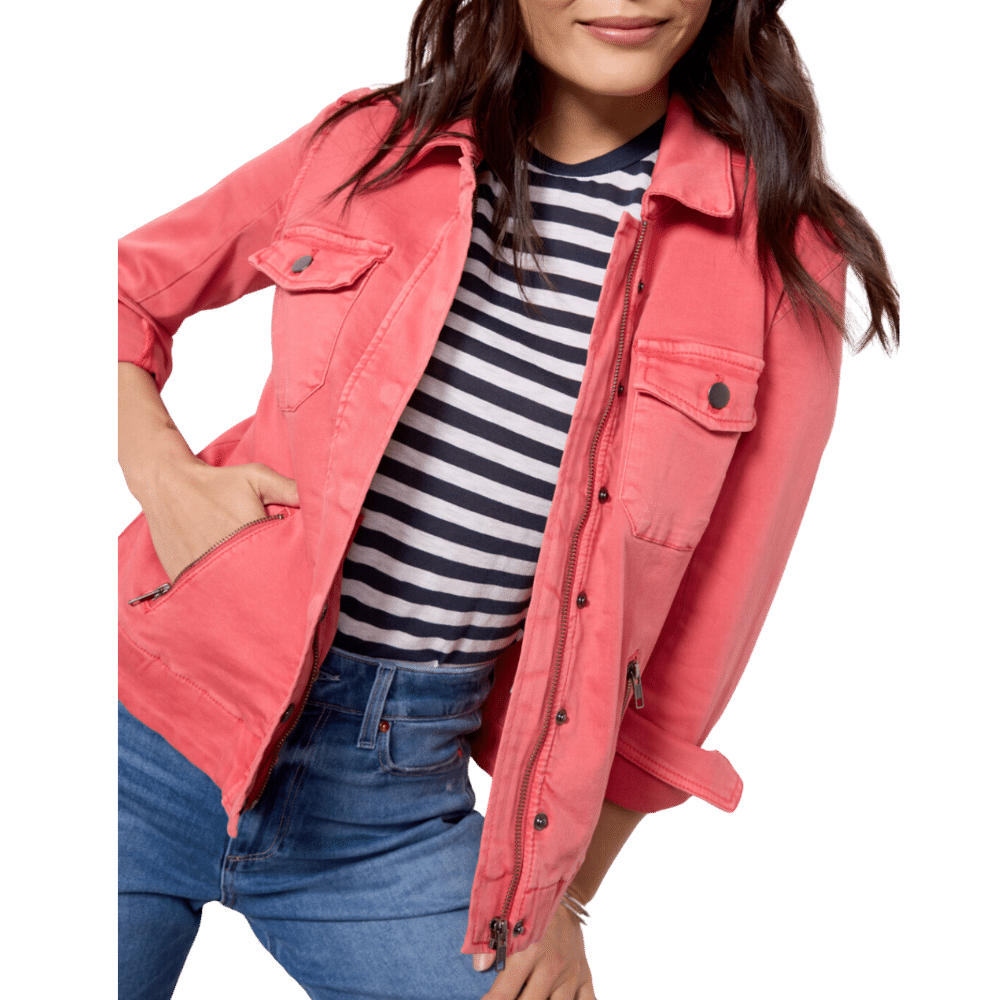
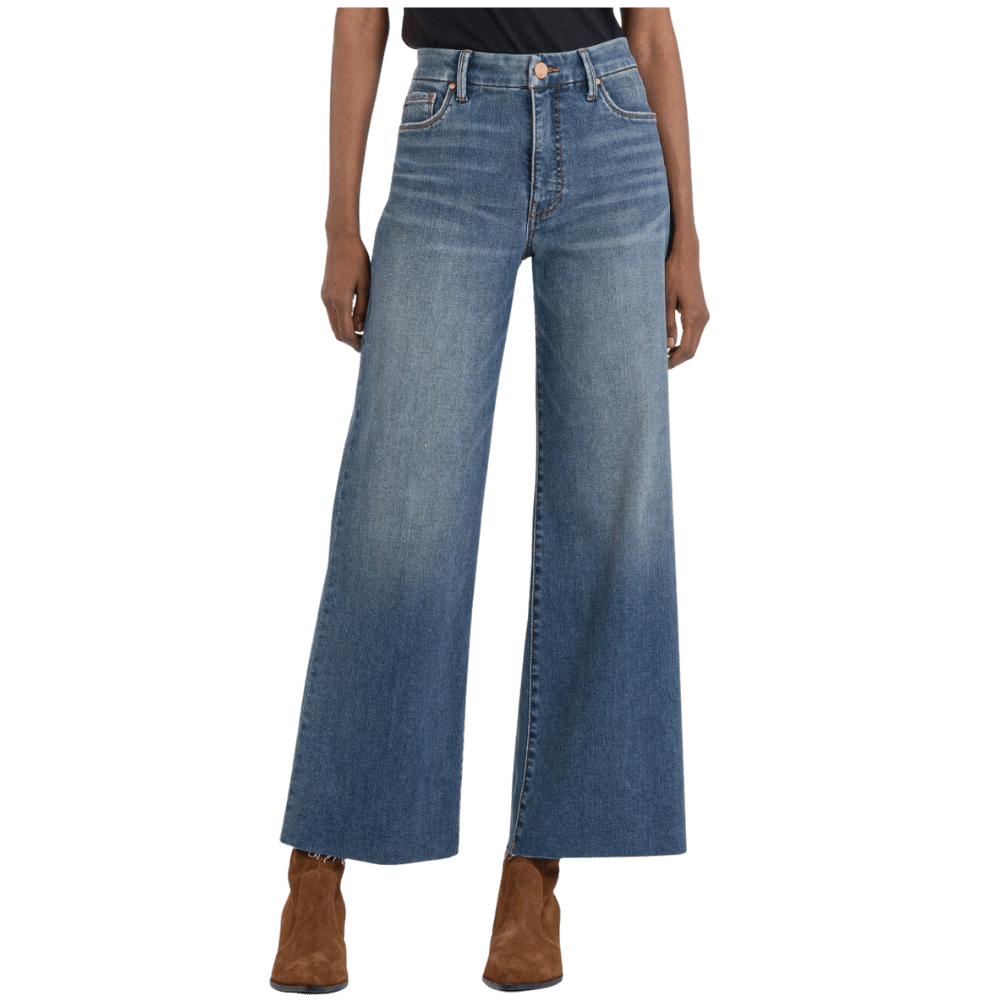
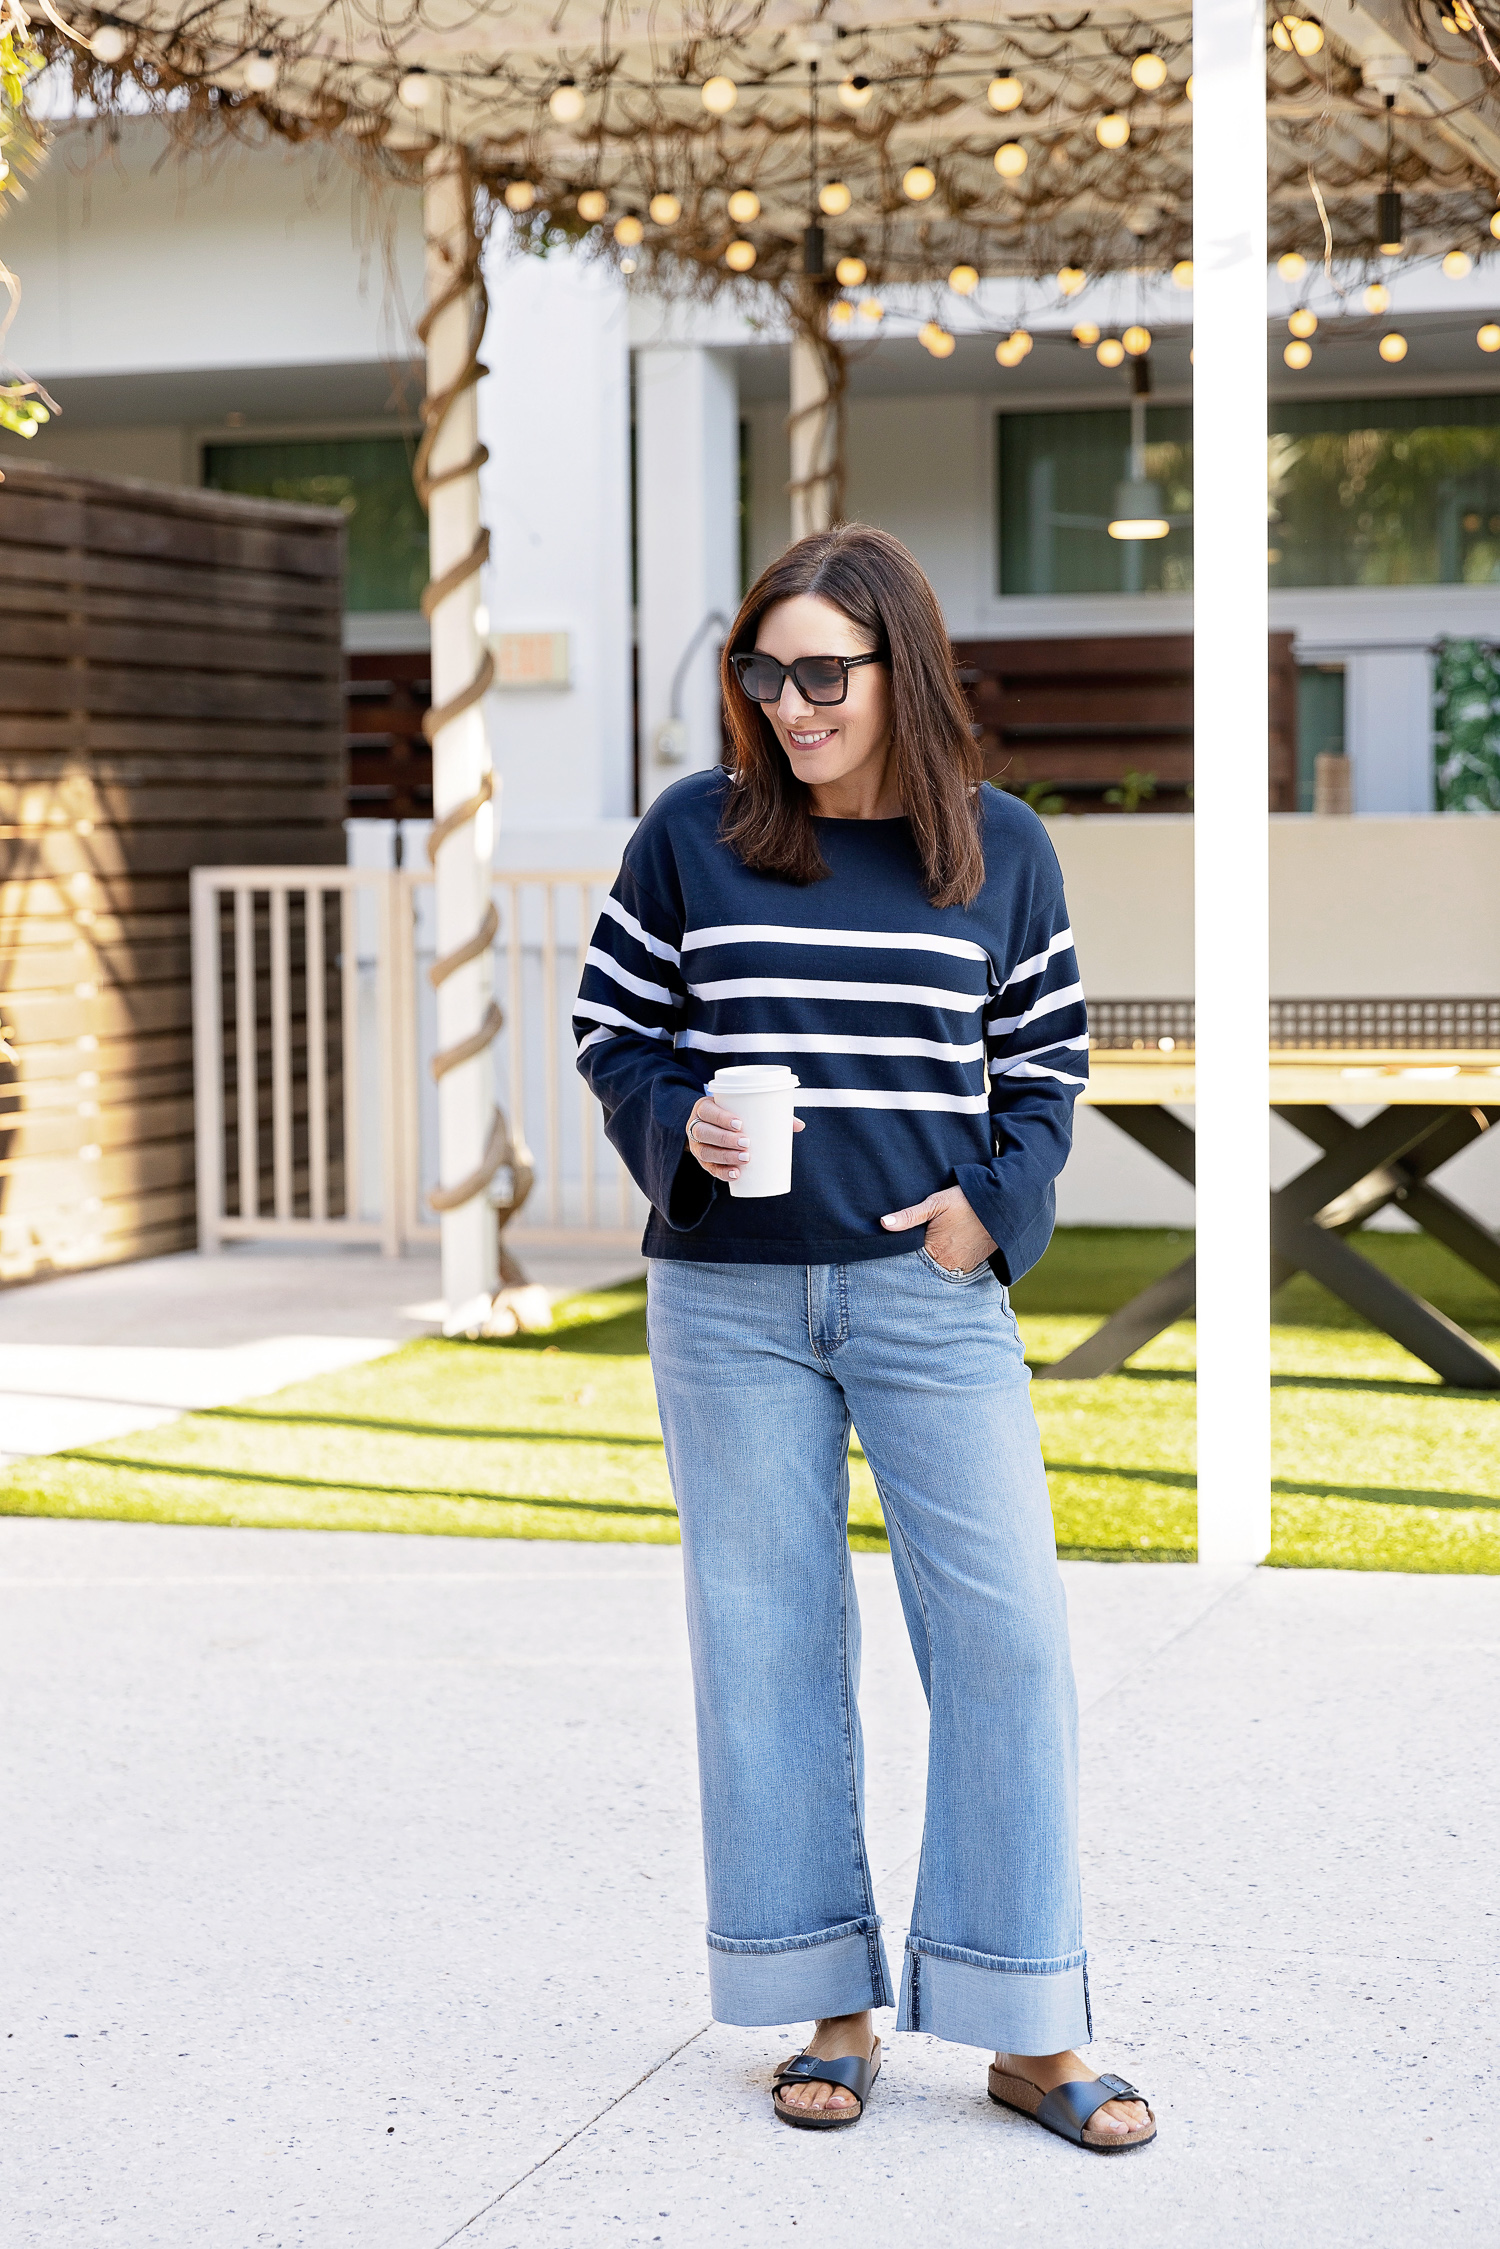
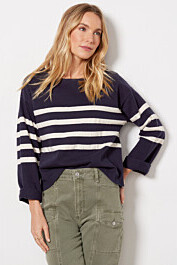
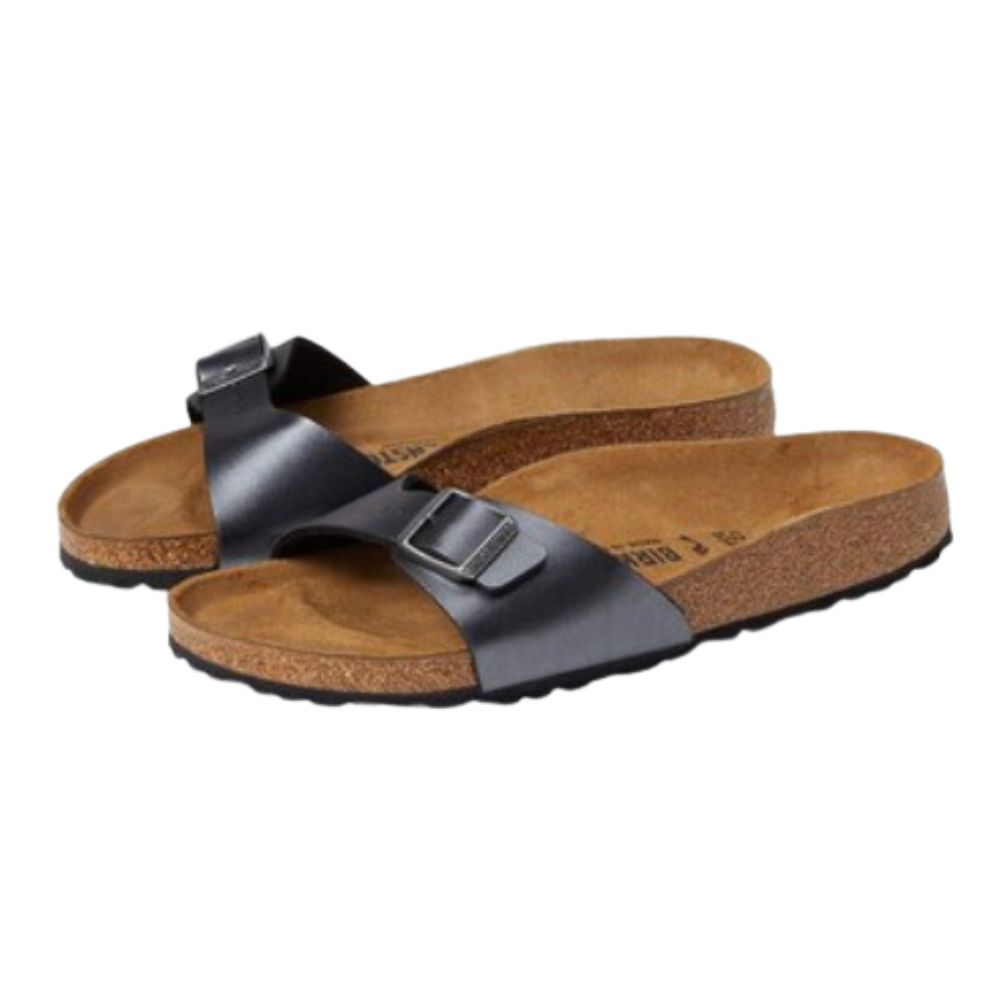
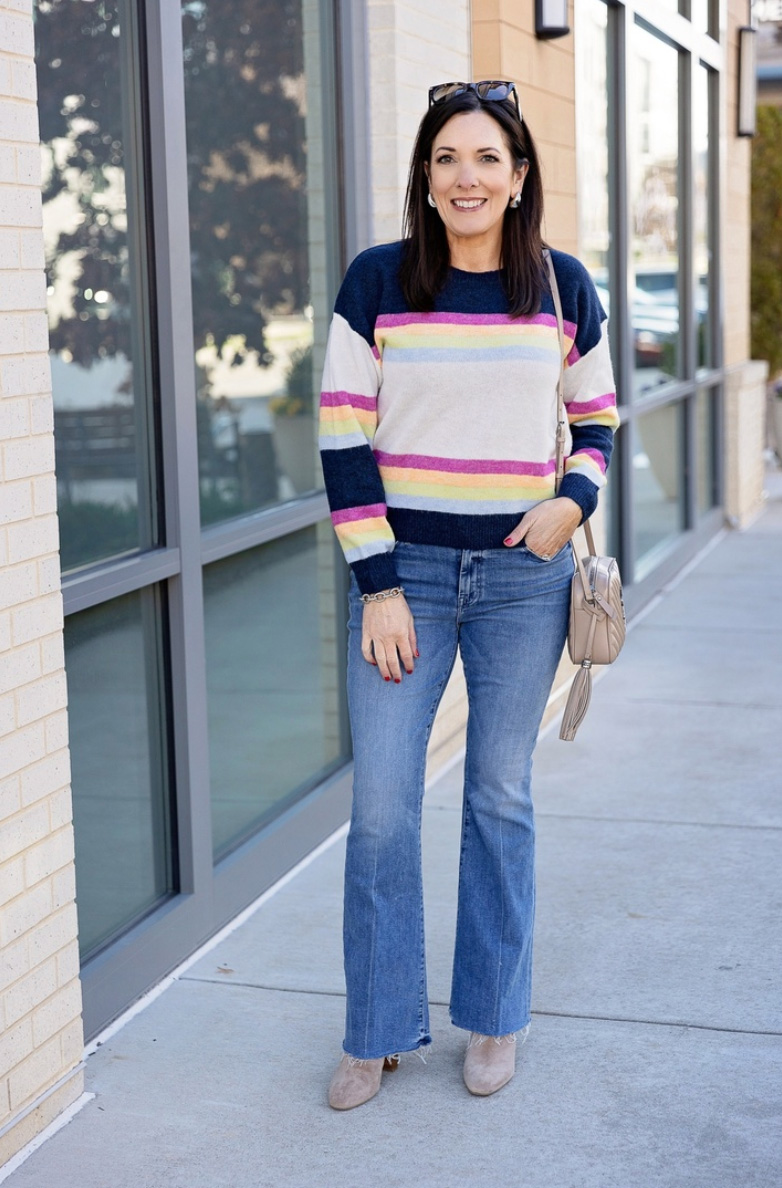
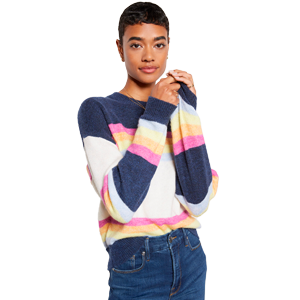
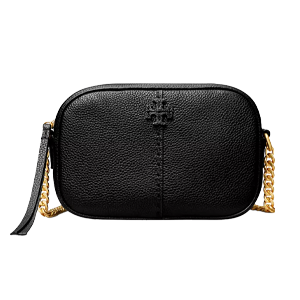
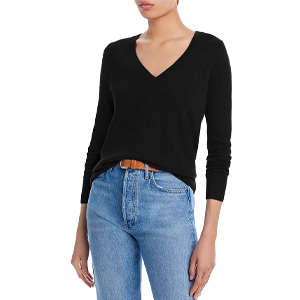
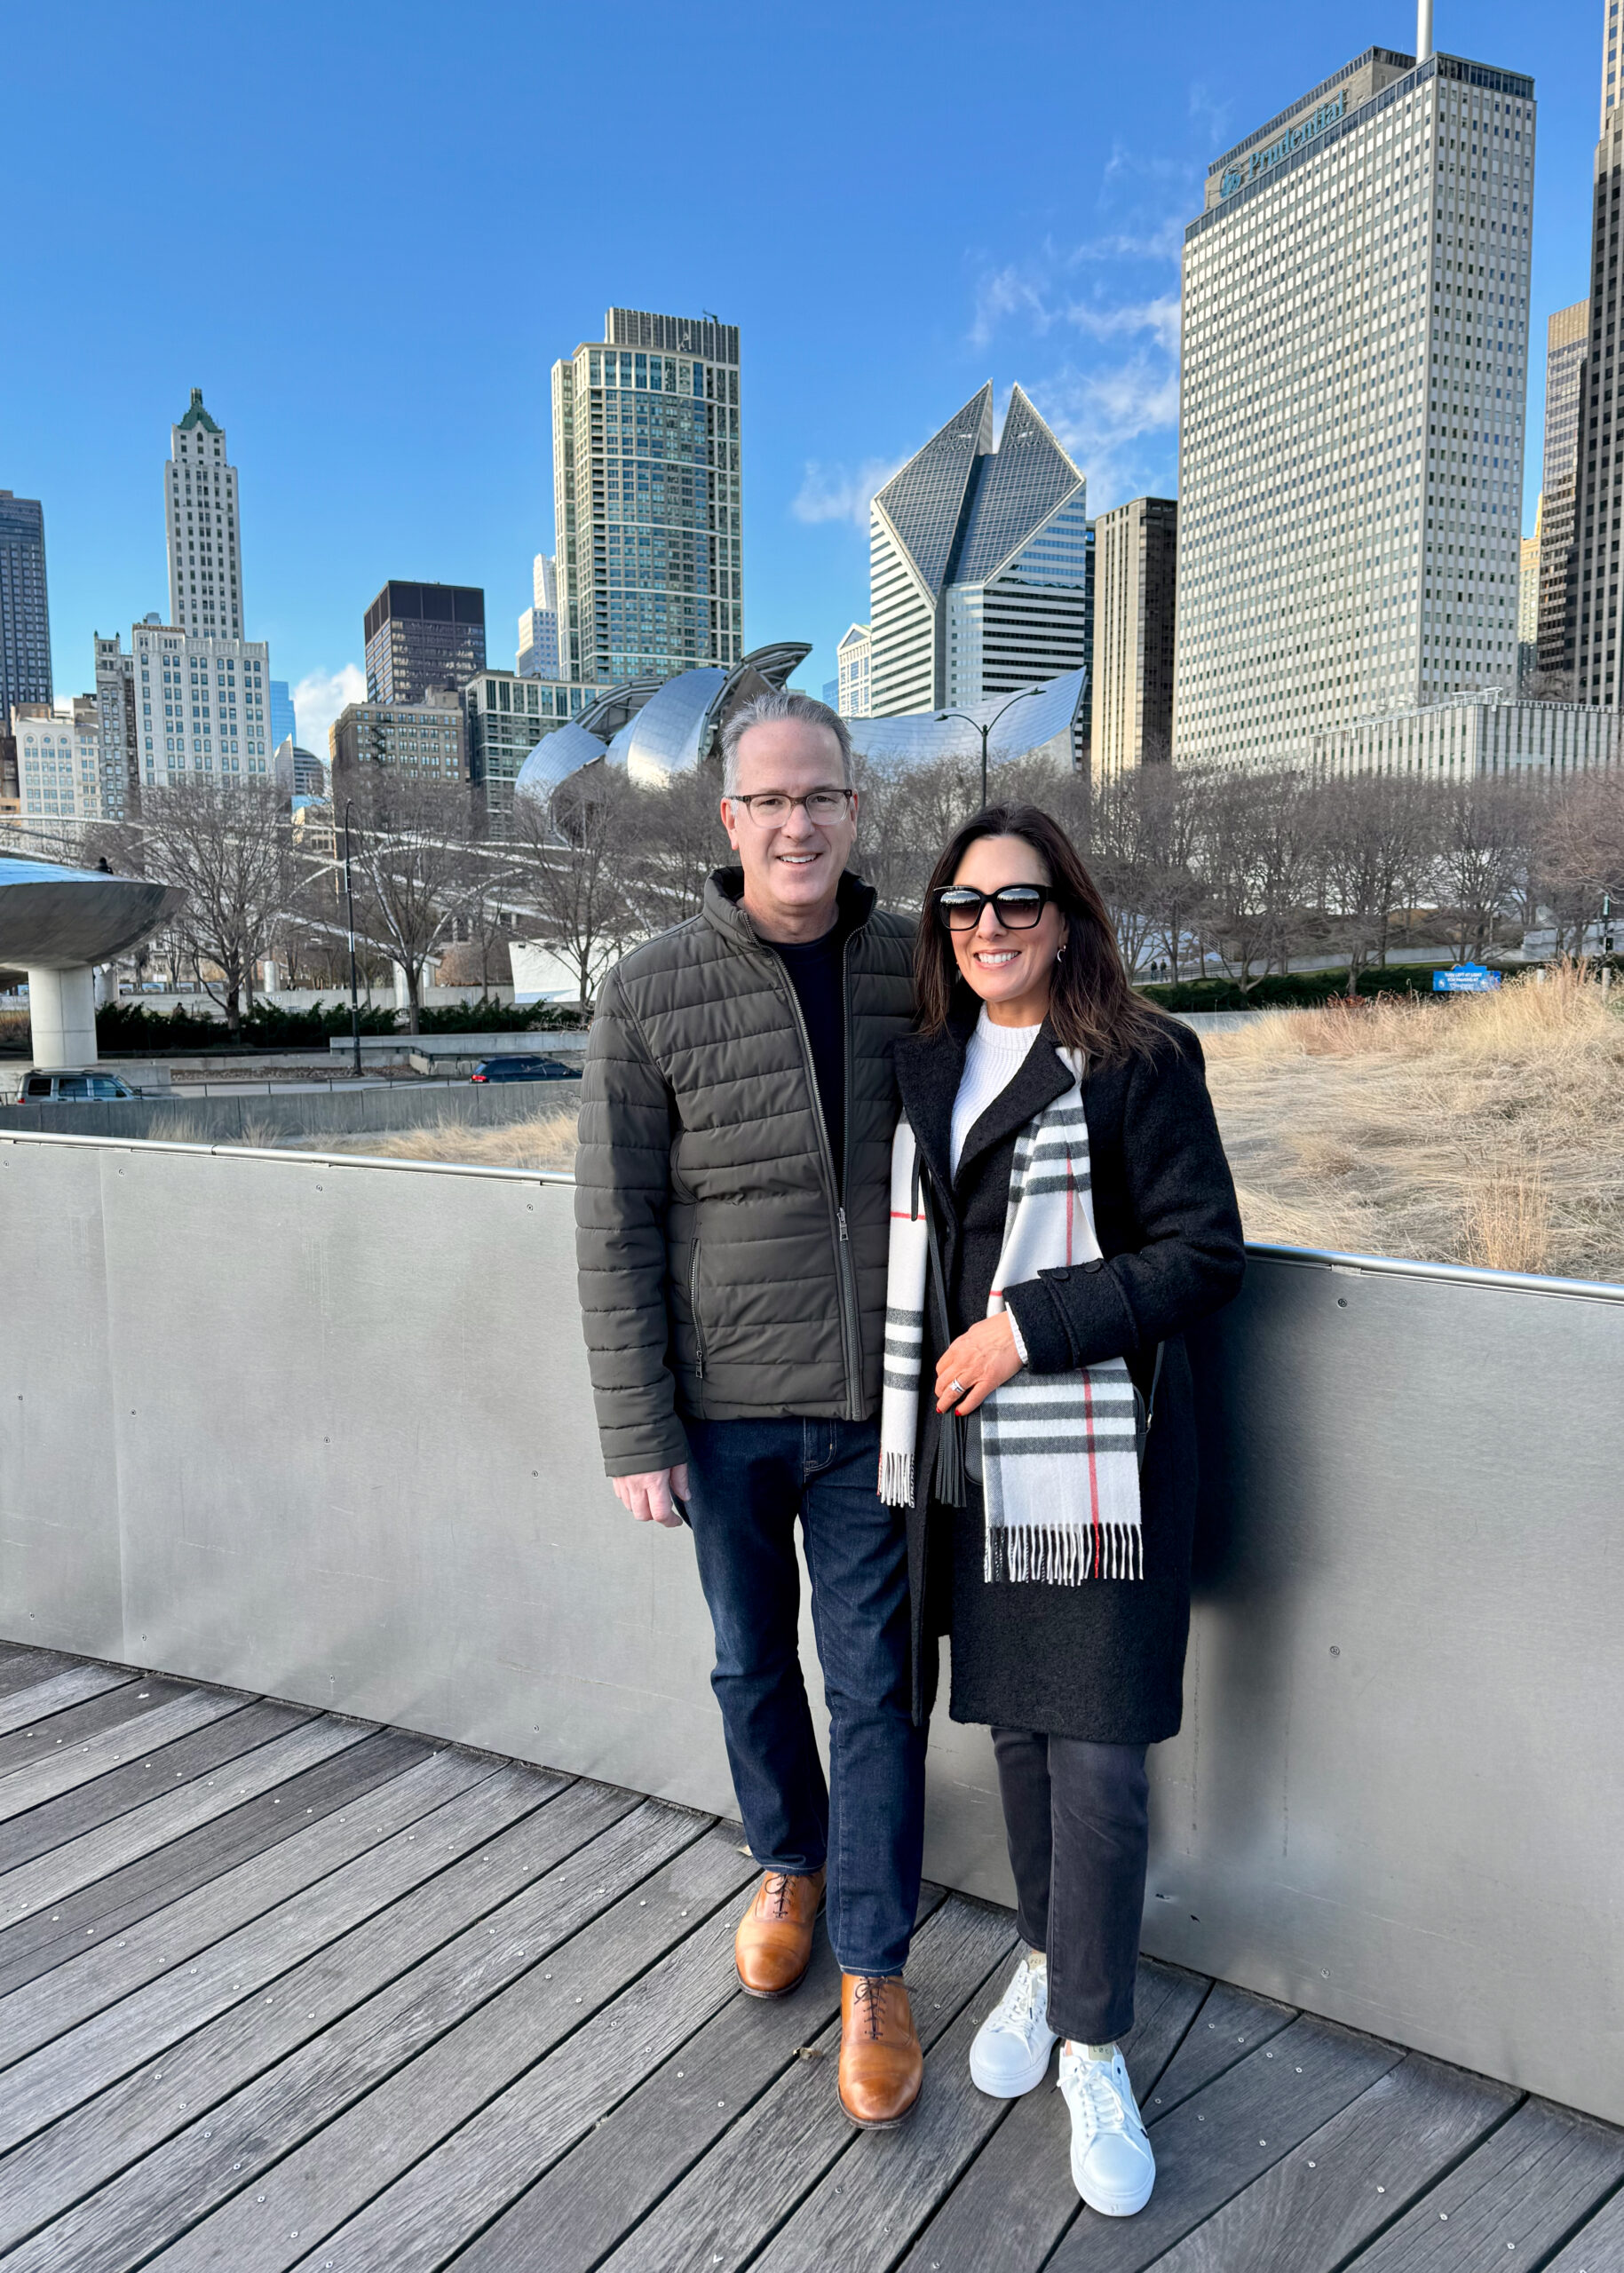
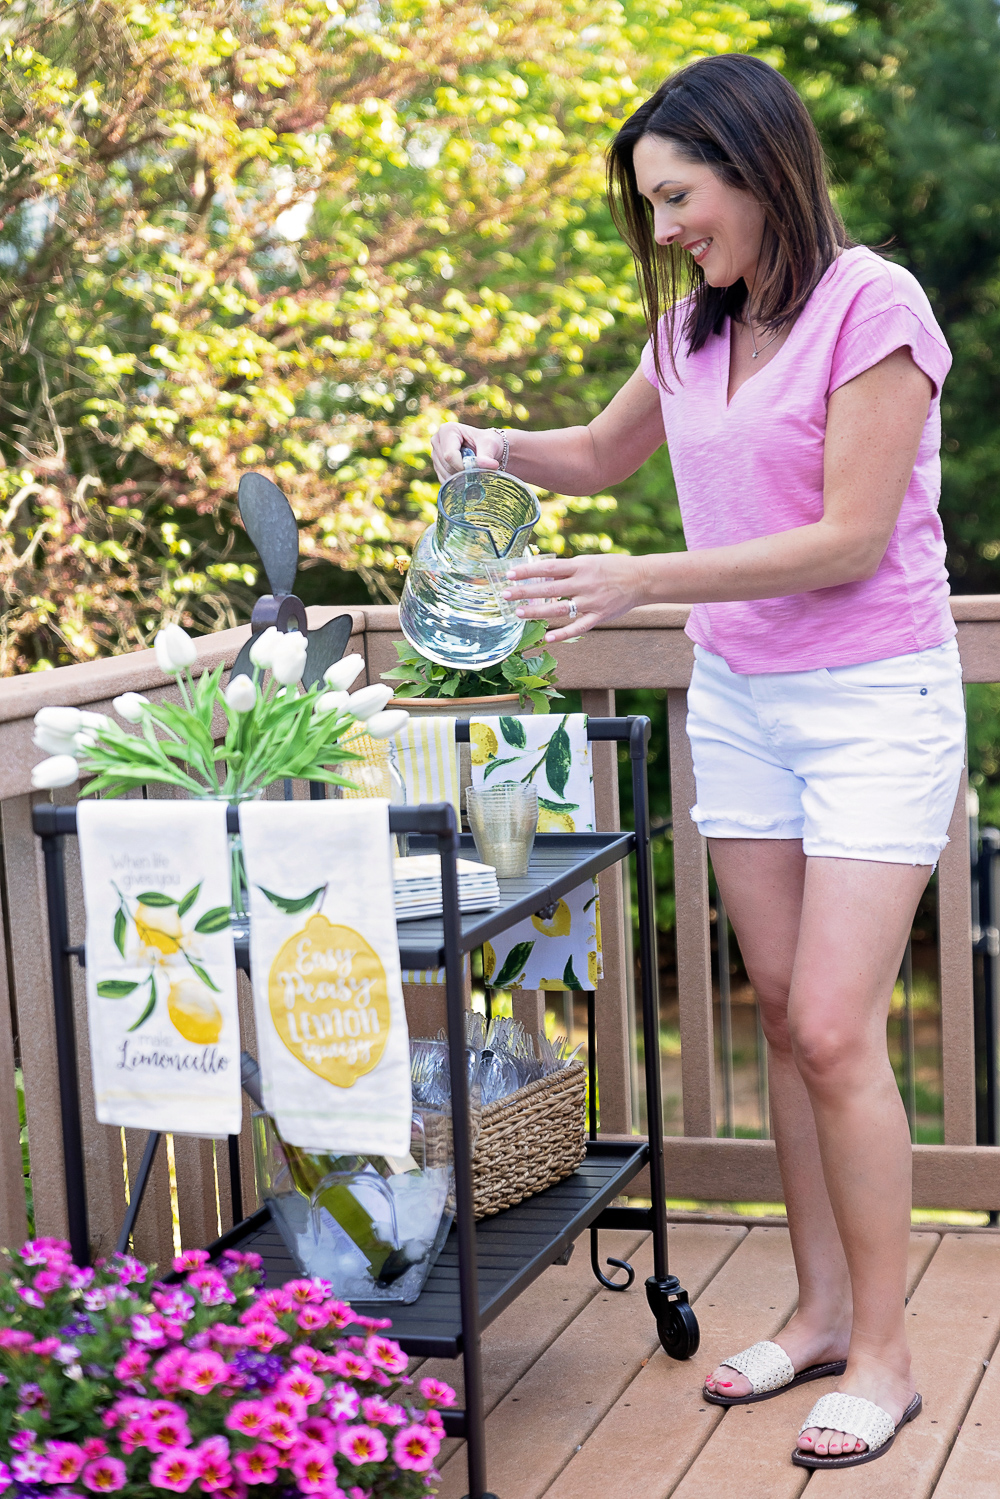
You can’t go wrong with navy & white for spring! Love the way the brown accessories warm up this classic outfit.
All details linked in bio! #everevestyle #springfashion
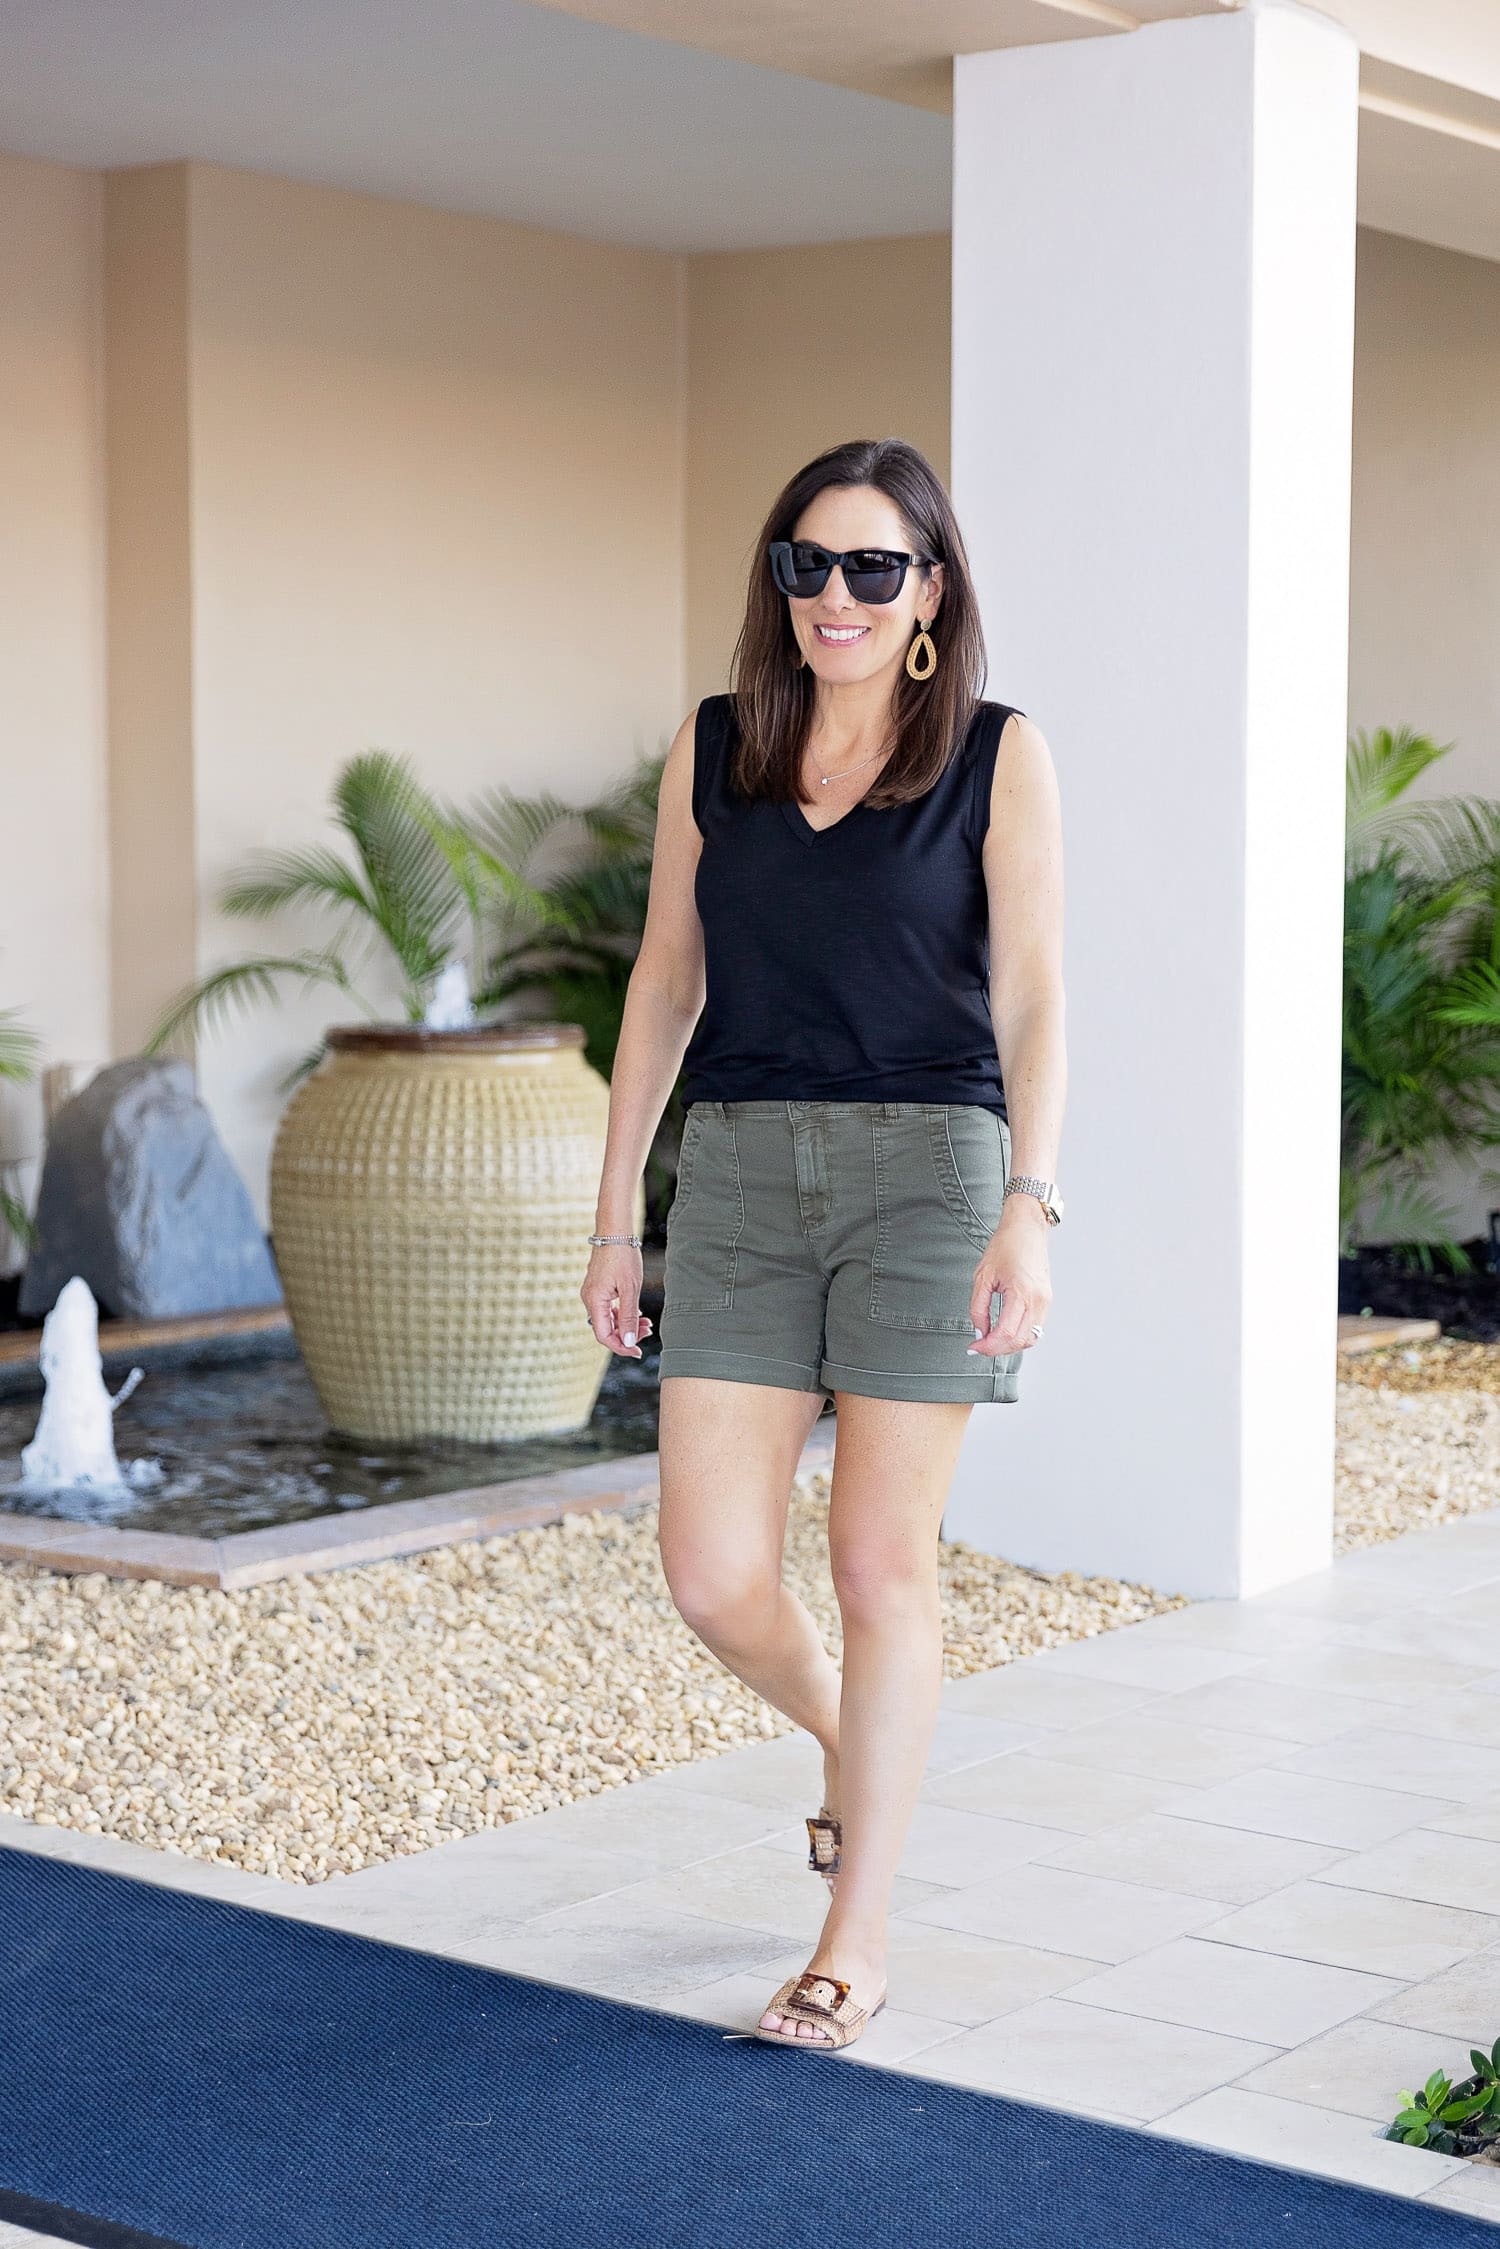
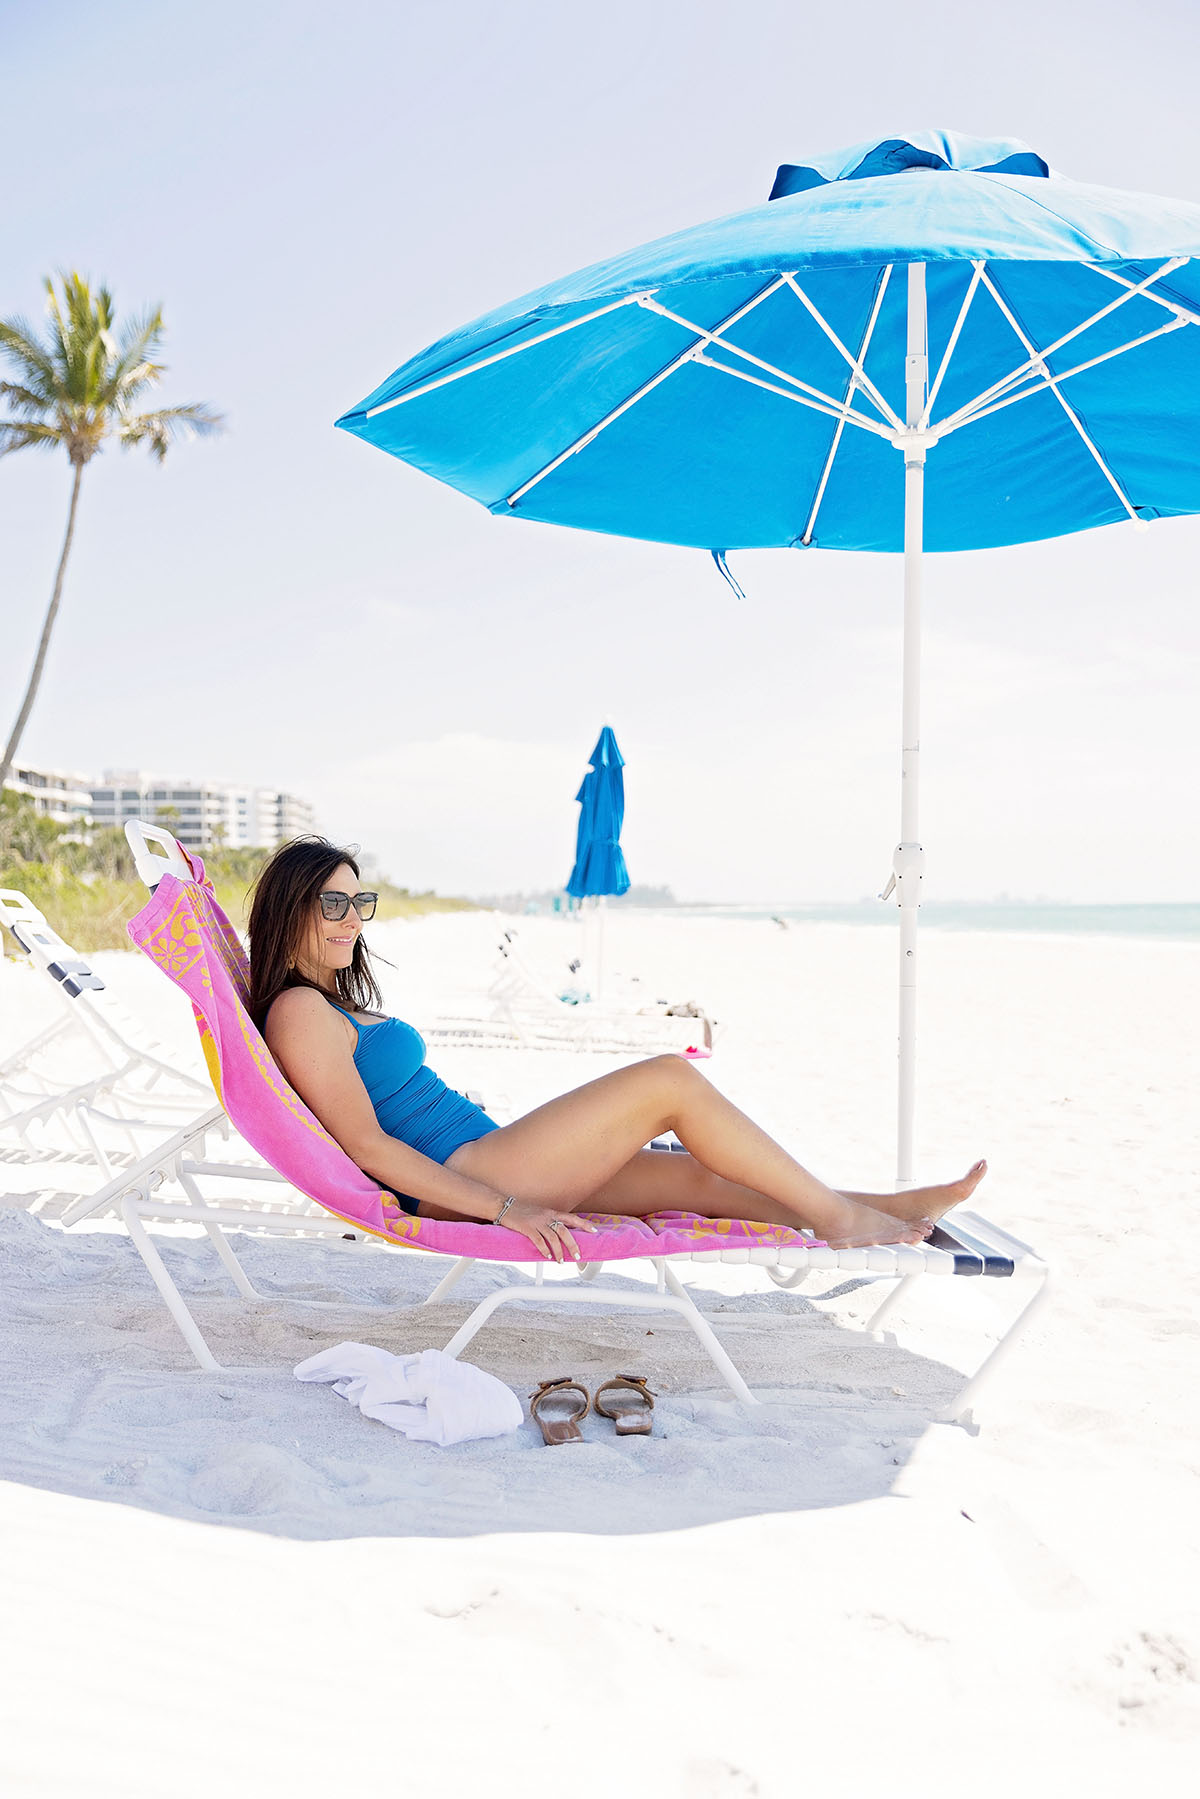
Well, I blinked and Spring Break is over! 🌴 Delray is beautiful. I hope to come back sometime when I can enjoy it more.
We did get down to the beach for a few hours yesterday. 🏖️ It was a challenge in The Boot but I managed. We spent the other days in a cabana by the serenity pool. And now it’s homeward bound! ✈️
EDITED TO ADD: Why is Instagram auto-adjusting my images and blowing out the lighting!?! Anyone else experiencing this??? 😠